Whether you're working on a 12V off-grid system, automotive wiring, or general electrical installs, having the right tools makes all the difference. Crimping tools are essential for creating strong, long-lasting connections, and if you're in the world of DIY solar, caravanning, or marine electrical, they’re a must-have in your toolkit.
In this guide, we’ll break down what crimping tools are, when and why to use them over soldering, how to choose the right one for your setup, and how to use them effectively.
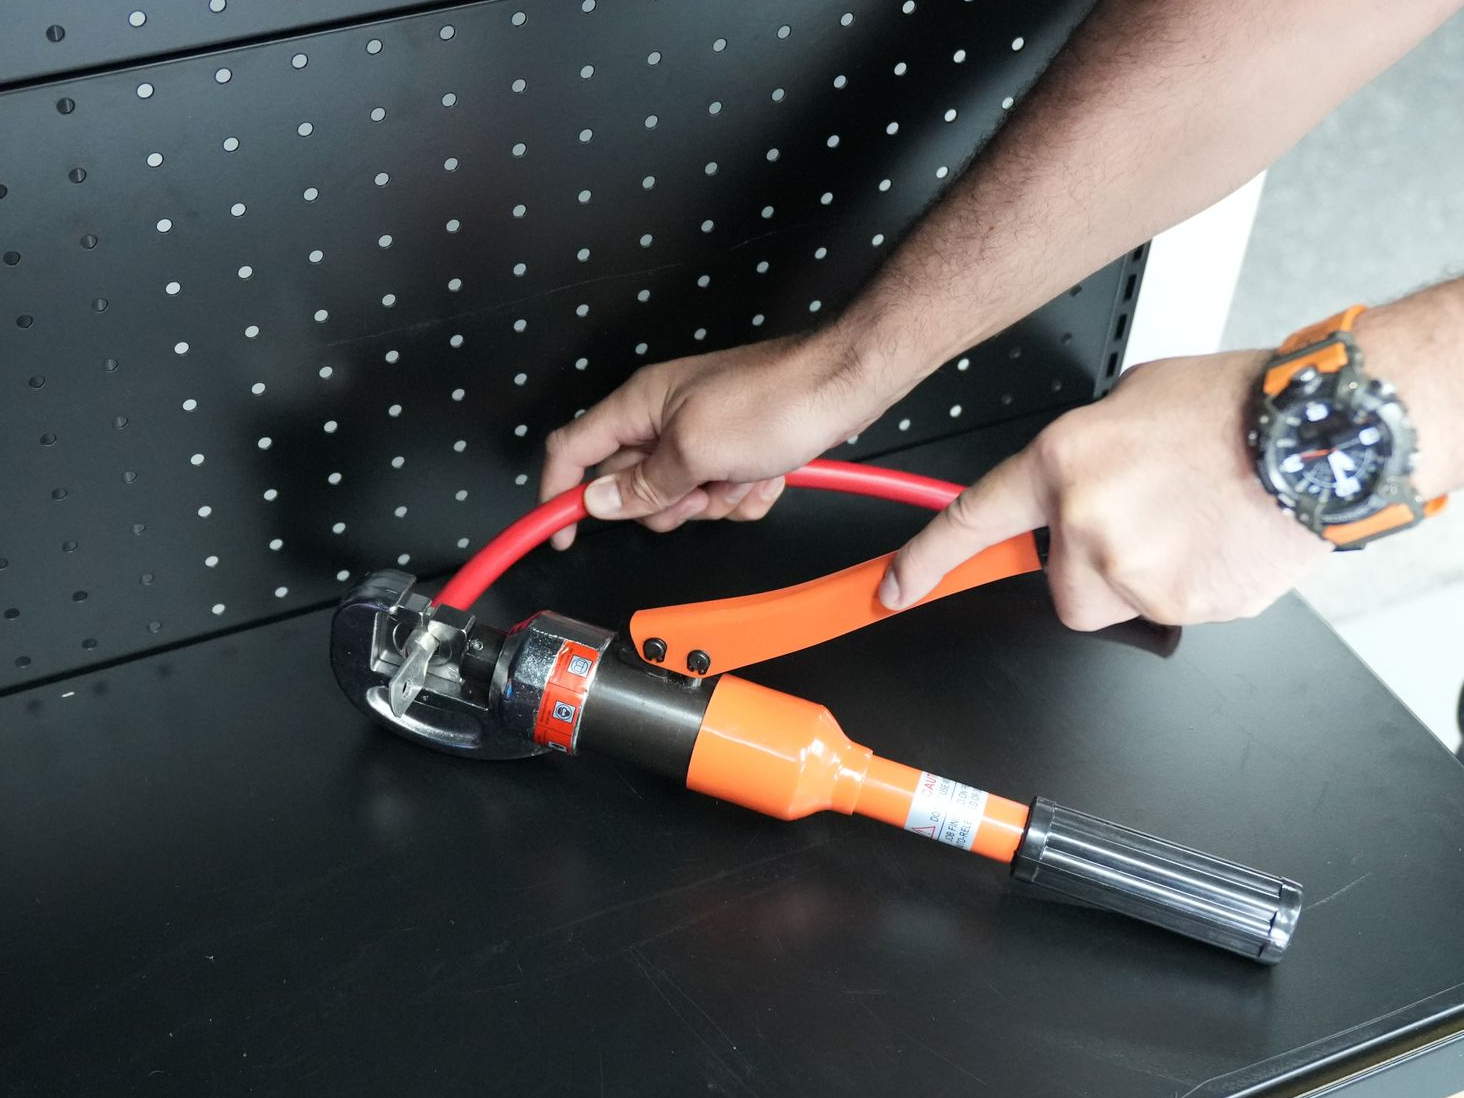
What is a crimping tool?
Crimping tools work by compressing a connector onto the stripped end of a wire, forming a secure bond, or “crimp”, that's resistant to vibration and environmental stress. This process is common in electrical work, where the goal is to create a strong mechanical and electrical bond that won’t loosen over time.
Crimping tools are most commonly used to attach connectors such as ring, spade, or butt connectors, to the ends of cables or wires. However, crimpers are used in a variety of applications, from 4WDs and caravans to home audio systems and even network cable projects.
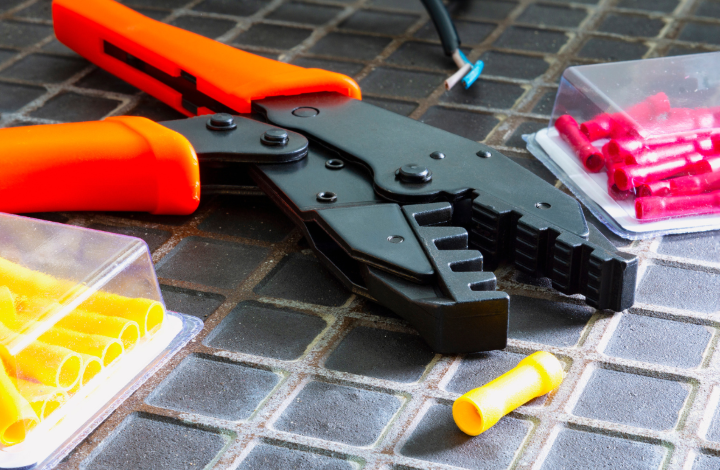
For off-grid and mobile solar installations, crimping ensures that the electrical connections can withstand harsher environmental conditions and deliver consistent performance. Especially for off-road or road-trip vehicles, crimp connections are often recommended due to their resistance to vibration. Vibration resistance is key to maintaining a safe and secure connection within the vehicle
One of the main reasons people use crimping tools is that crimped connections reduce resistance at the point of connection, which minimises the risk of overheating. Overheating can lead to failures or even dangerous situations, particularly in high-current applications. Crimping also eliminates the inconsistencies often found with soldered connections, ensuring a more uniform result every time.
Why would you crimp and not solder?
Crimping and soldering are two common methods for making electrical connections, but crimping is often recommended for its speed and reliability, especially in demanding environments. Soldering involves melting a filler metal to join wires, requiring precise technique and a steady hand. This process can be time-consuming and inconsistent, especially if you're working in an off-grid setup where quick fixes are often necessary.
On the other hand, crimping employs mechanical force to secure a connector to a wire. This method is faster and produces consistent results, crucial when you need dependable connections. Unlike soldered joints, which can become brittle and fail under vibration or thermal cycling, crimped connections remain robust.
Additionally, crimping offers a simpler and more user-friendly alternative for creating strong electrical connections. Even if you’re new to electrical work, a quality crimping tool can help you achieve professional-grade results with minimal training. This is especially useful for DIY enthusiasts who want to ensure their projects are both safe and reliable.
Categories & types of crimping tools
Crimping tools come in a variety of categories and types, each tailored to specific tasks and levels of complexity. The most common category is the hand crimper, perfect for small to medium-sized projects. Hand crimpers are versatile and user-friendly, making them ideal for quick fixes and precise work on the go.
For larger cables and more demanding applications, hydraulic crimpers are your go-to. These tools offer greater force, ensuring a secure and durable connection even in high-stress environments. Hydraulic crimpers are perfect for off-grid solar systems and heavy-duty vehicle wiring.
Pneumatic crimpers, on the other hand, are designed for high-volume production settings. These tools use air pressure to apply consistent crimping force, making them invaluable for repetitive tasks and large-scale projects. Pneumatic crimpers excel in manufacturing environments where speed and efficiency are paramount.
Each type of crimper is designed with specific features to meet the demands of different applications. For instance, ratchet crimpers ensure that the tool only releases when the crimp is complete, providing a consistent and reliable connection every time. There are also specialty crimpers designed for particular connectors or wire gauges, ensuring you have the right tool for the job.
Selecting the right crimping tool is crucial for achieving high-quality, dependable connections. By understanding the categories and types available, you can choose a crimper that matches your project's requirements and ensures robust performance.
Understanding crimping tool dies
When it comes to crimping wires, there are two main components that form the final connection: the wire and the terminal/connector. Both of these components can dictate the type of crimping tool and crimping die that you need to use.
Crimping dies, or die nests, are the head pieces of crimping tools that include the cavities that provide the shape for the crimp. There are heaps of different dies for crimping tools, and each of the different shapes is designed to achieve a specific purpose, based on the terminal and the application. Therefore, it’s important to know what shape crimp you require before picking out the die you are going to use.
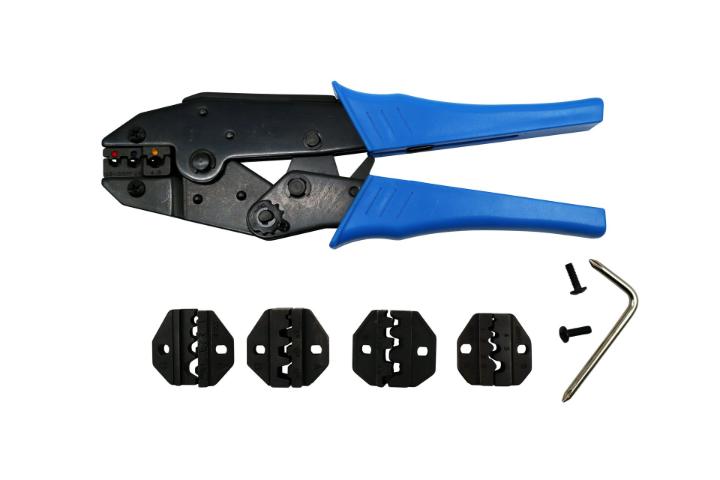
It’s also important to note that the dies often include various-sized cavities that provide the same crimp shape. These different cavity sizes allow the crimper to crimp different wire sizes.
For example:
This crimping die is designed to red, blue or yellow ring terminals onto wire between 0.5-6mm², and it has 3 separate cavities to suit 3 wire size ranges.
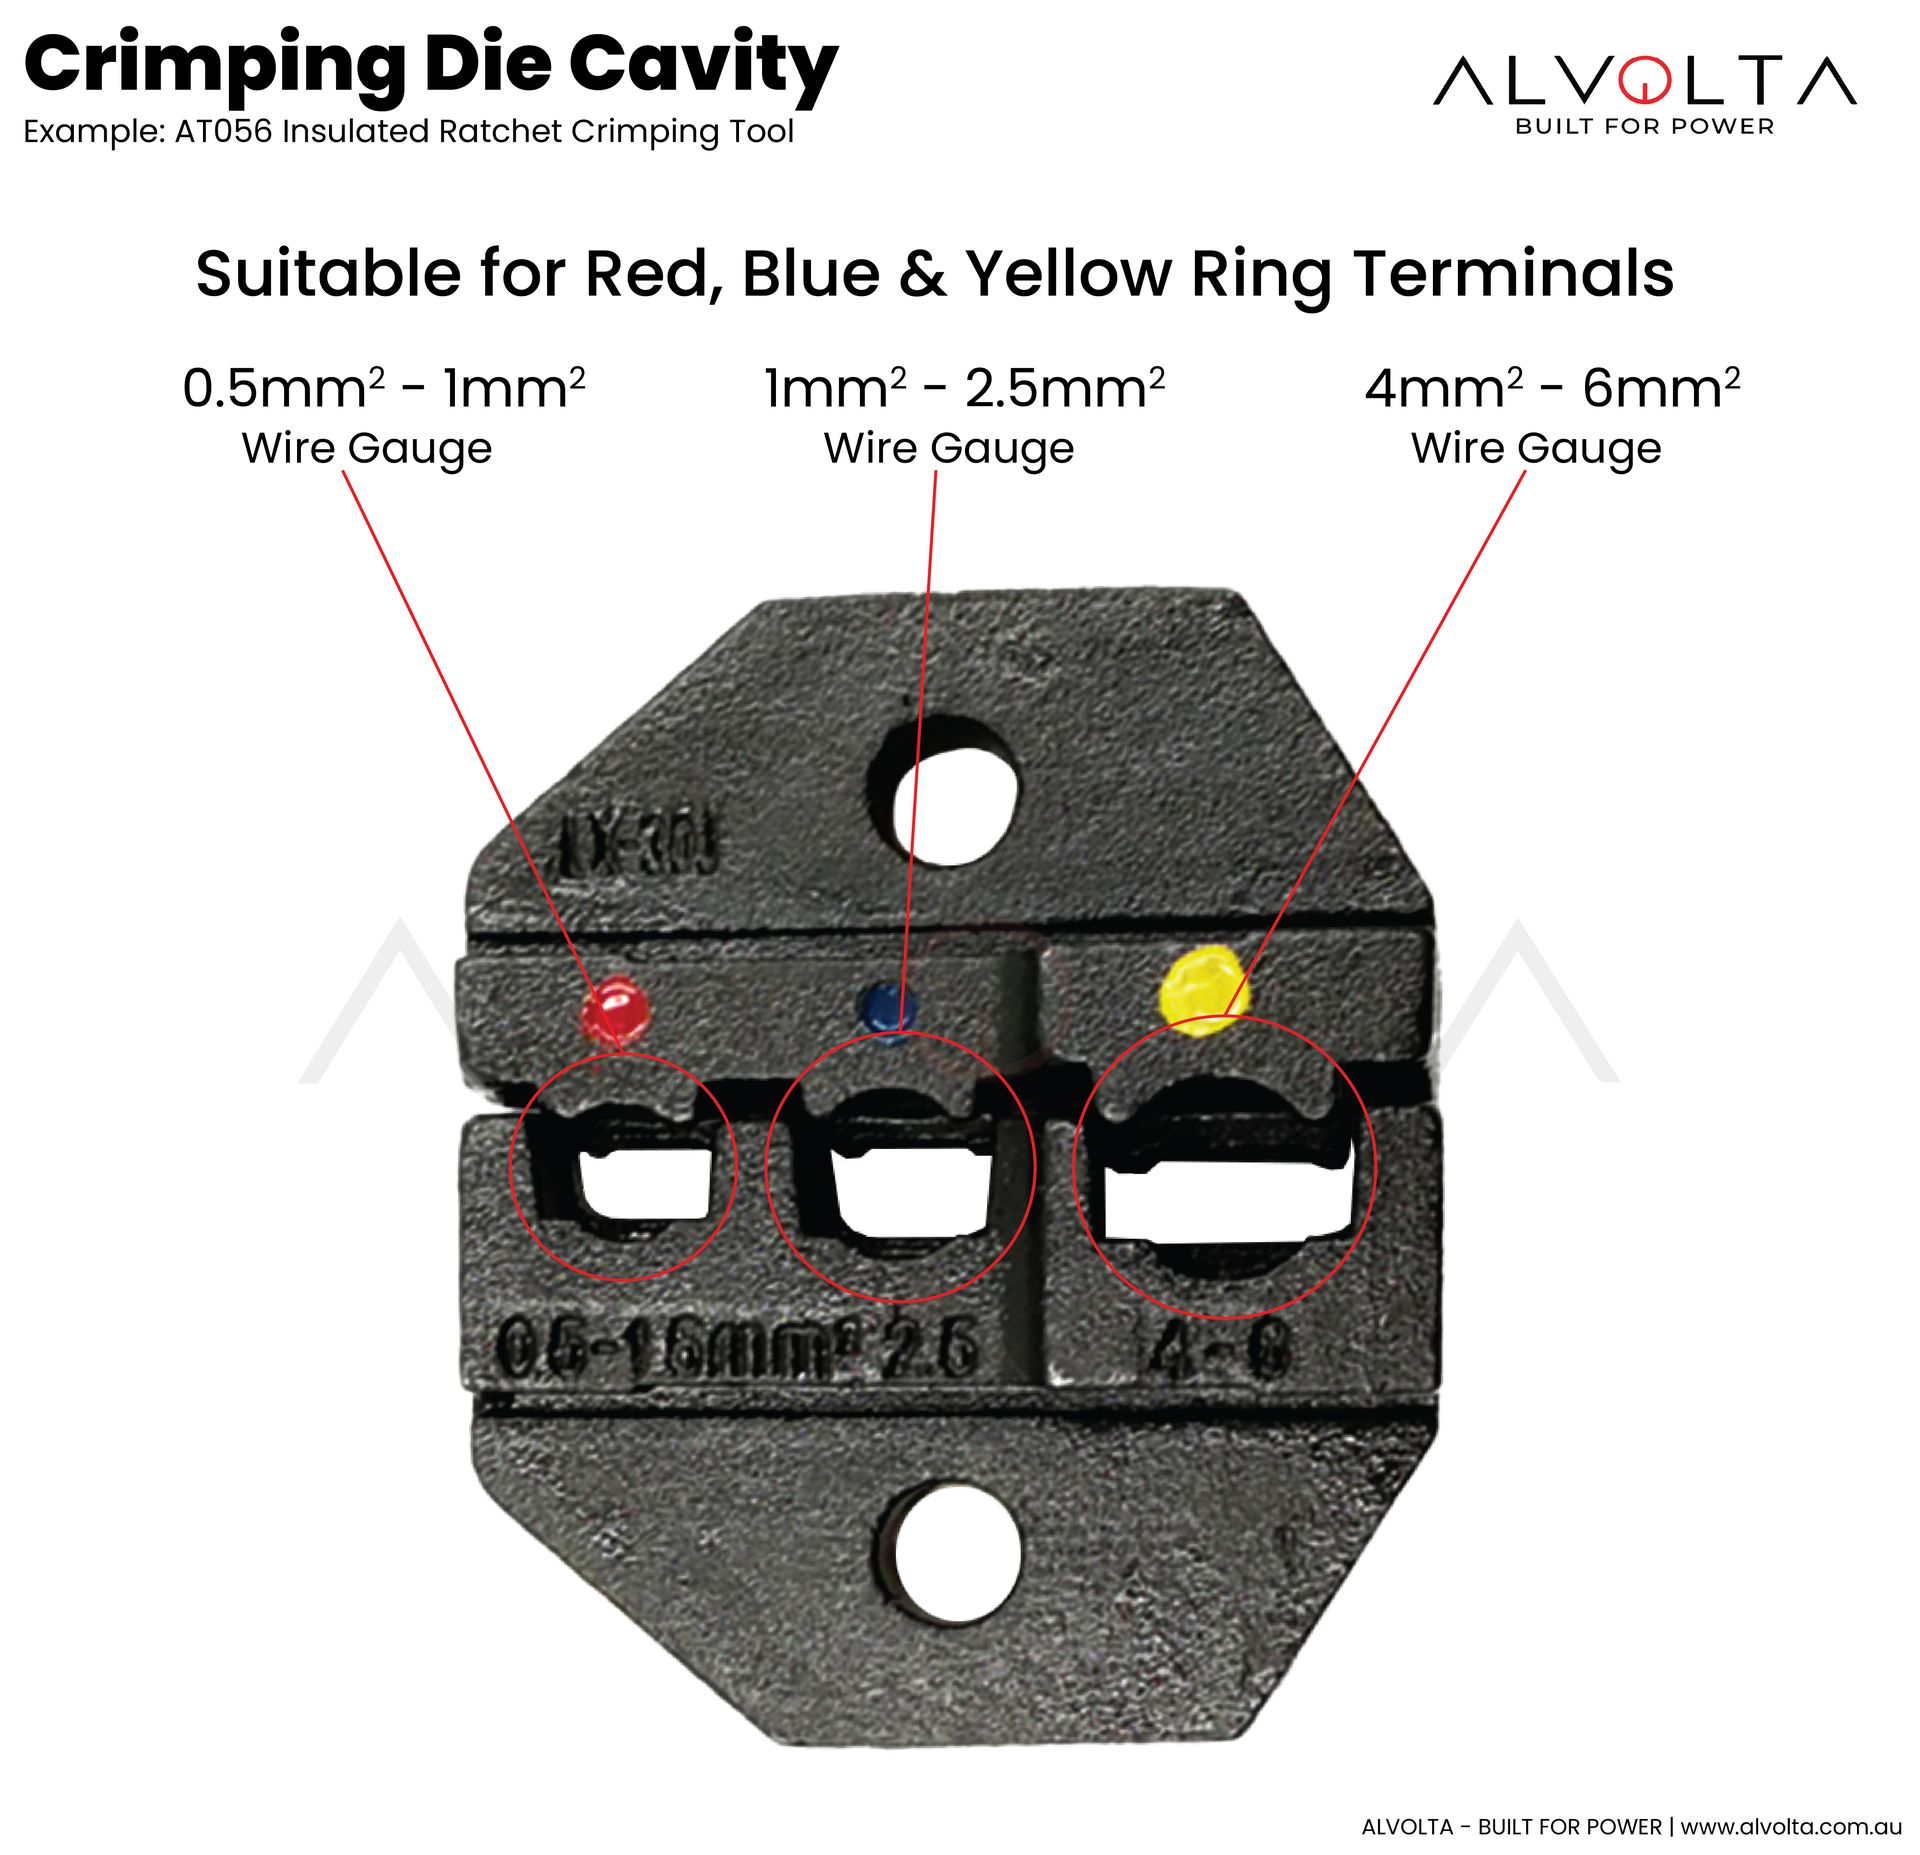
The shape and design of the die are crucial for the integrity of the crimp. Some dies are designed for hexagonal crimps, which are excellent for heavy-duty applications and provide robust connections that can handle substantial mechanical stress. Others might be designed for oval or trapezoidal crimps, which are often used in more specialised applications.
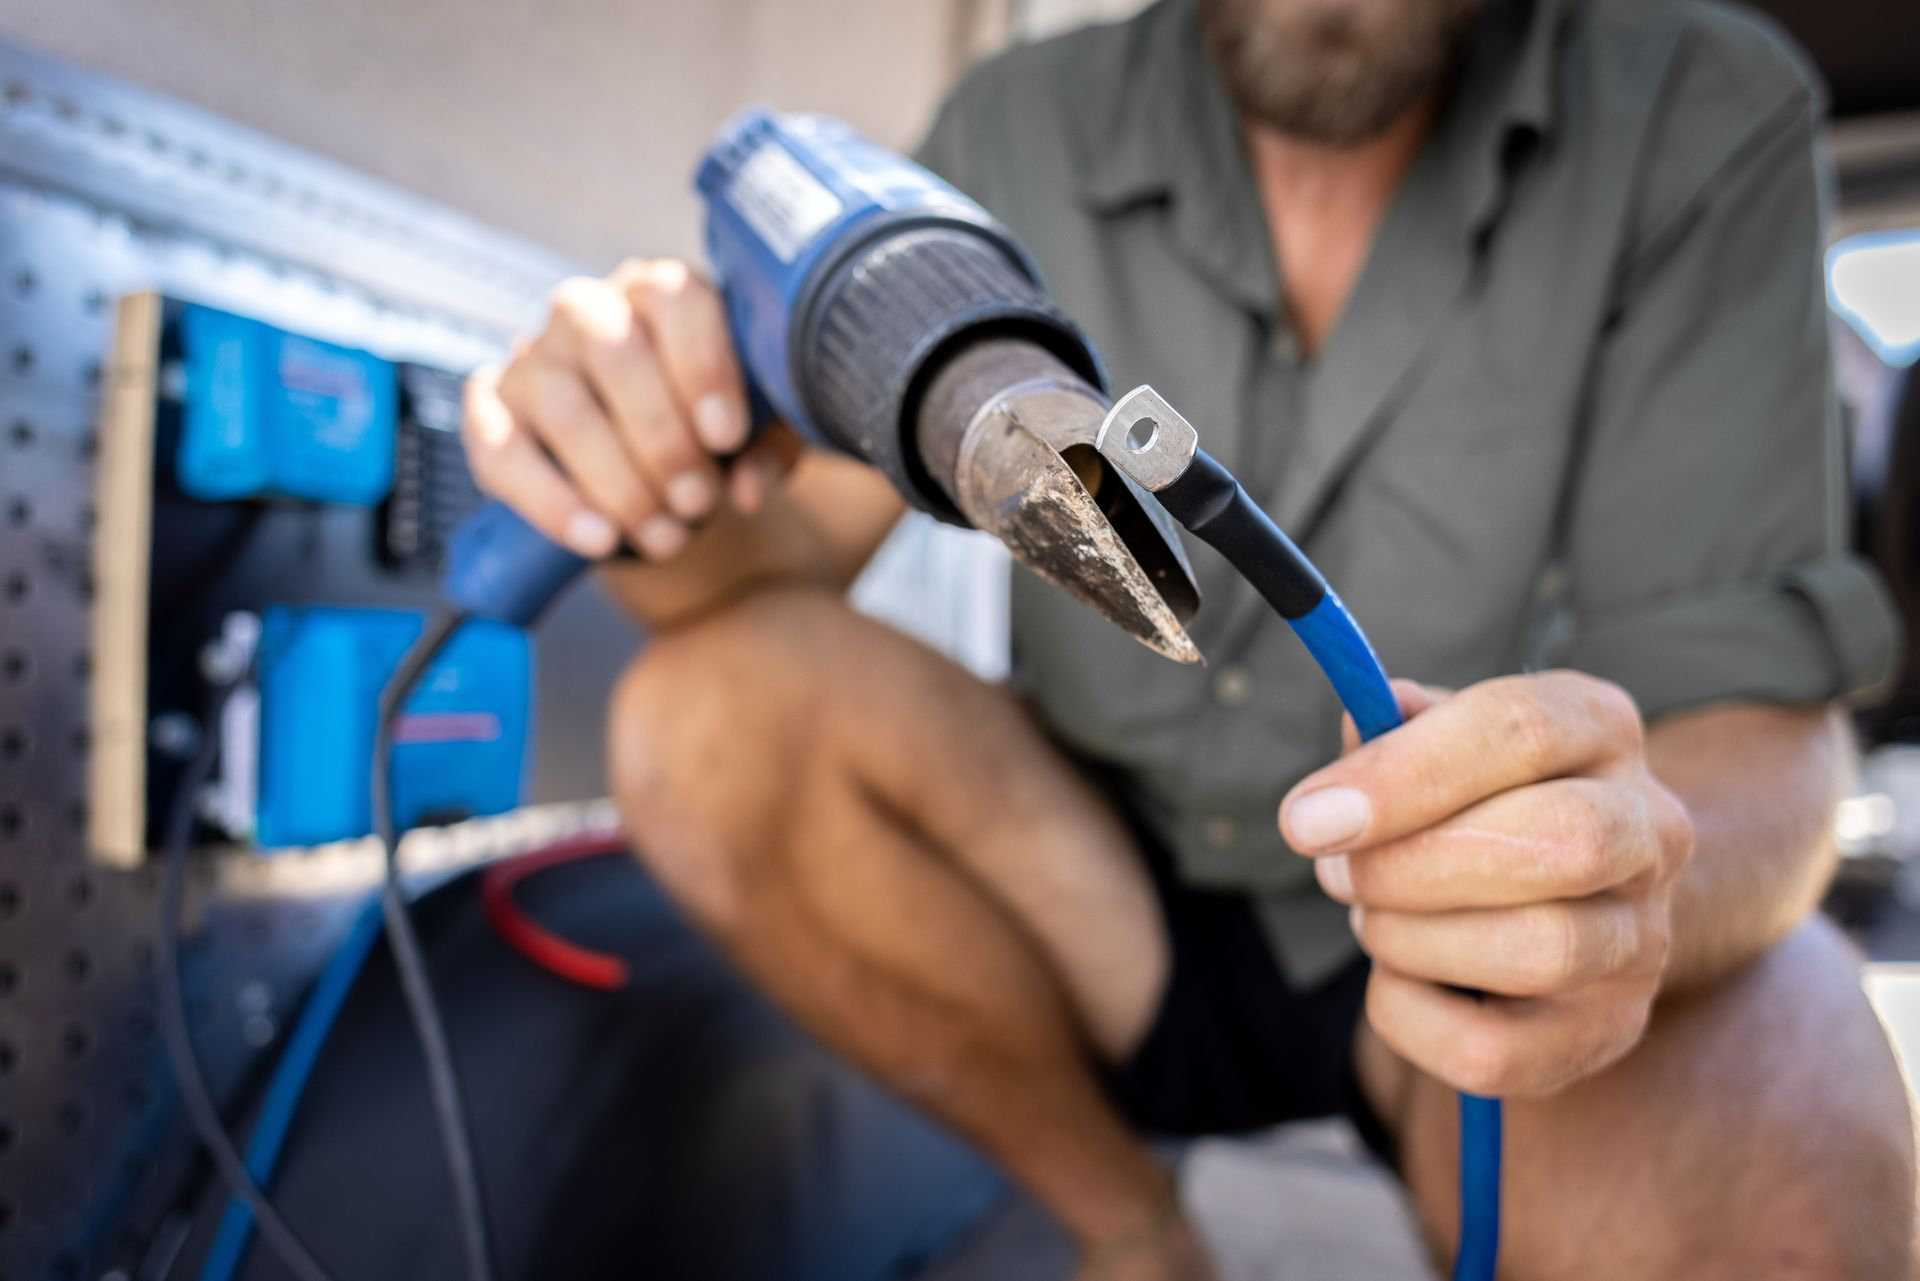
When choosing your terminals and connectors, consider the wire gauge and the current carrying capacity. Using the right size ensures that your connection can handle the electrical load without overheating or becoming loose over time. Environmental conditions also play a crucial role. If your project will be exposed to moisture, dust, or extreme temperatures, opt for connectors with weatherproofing features like heat-shrink insulation or corrosion-resistant materials.
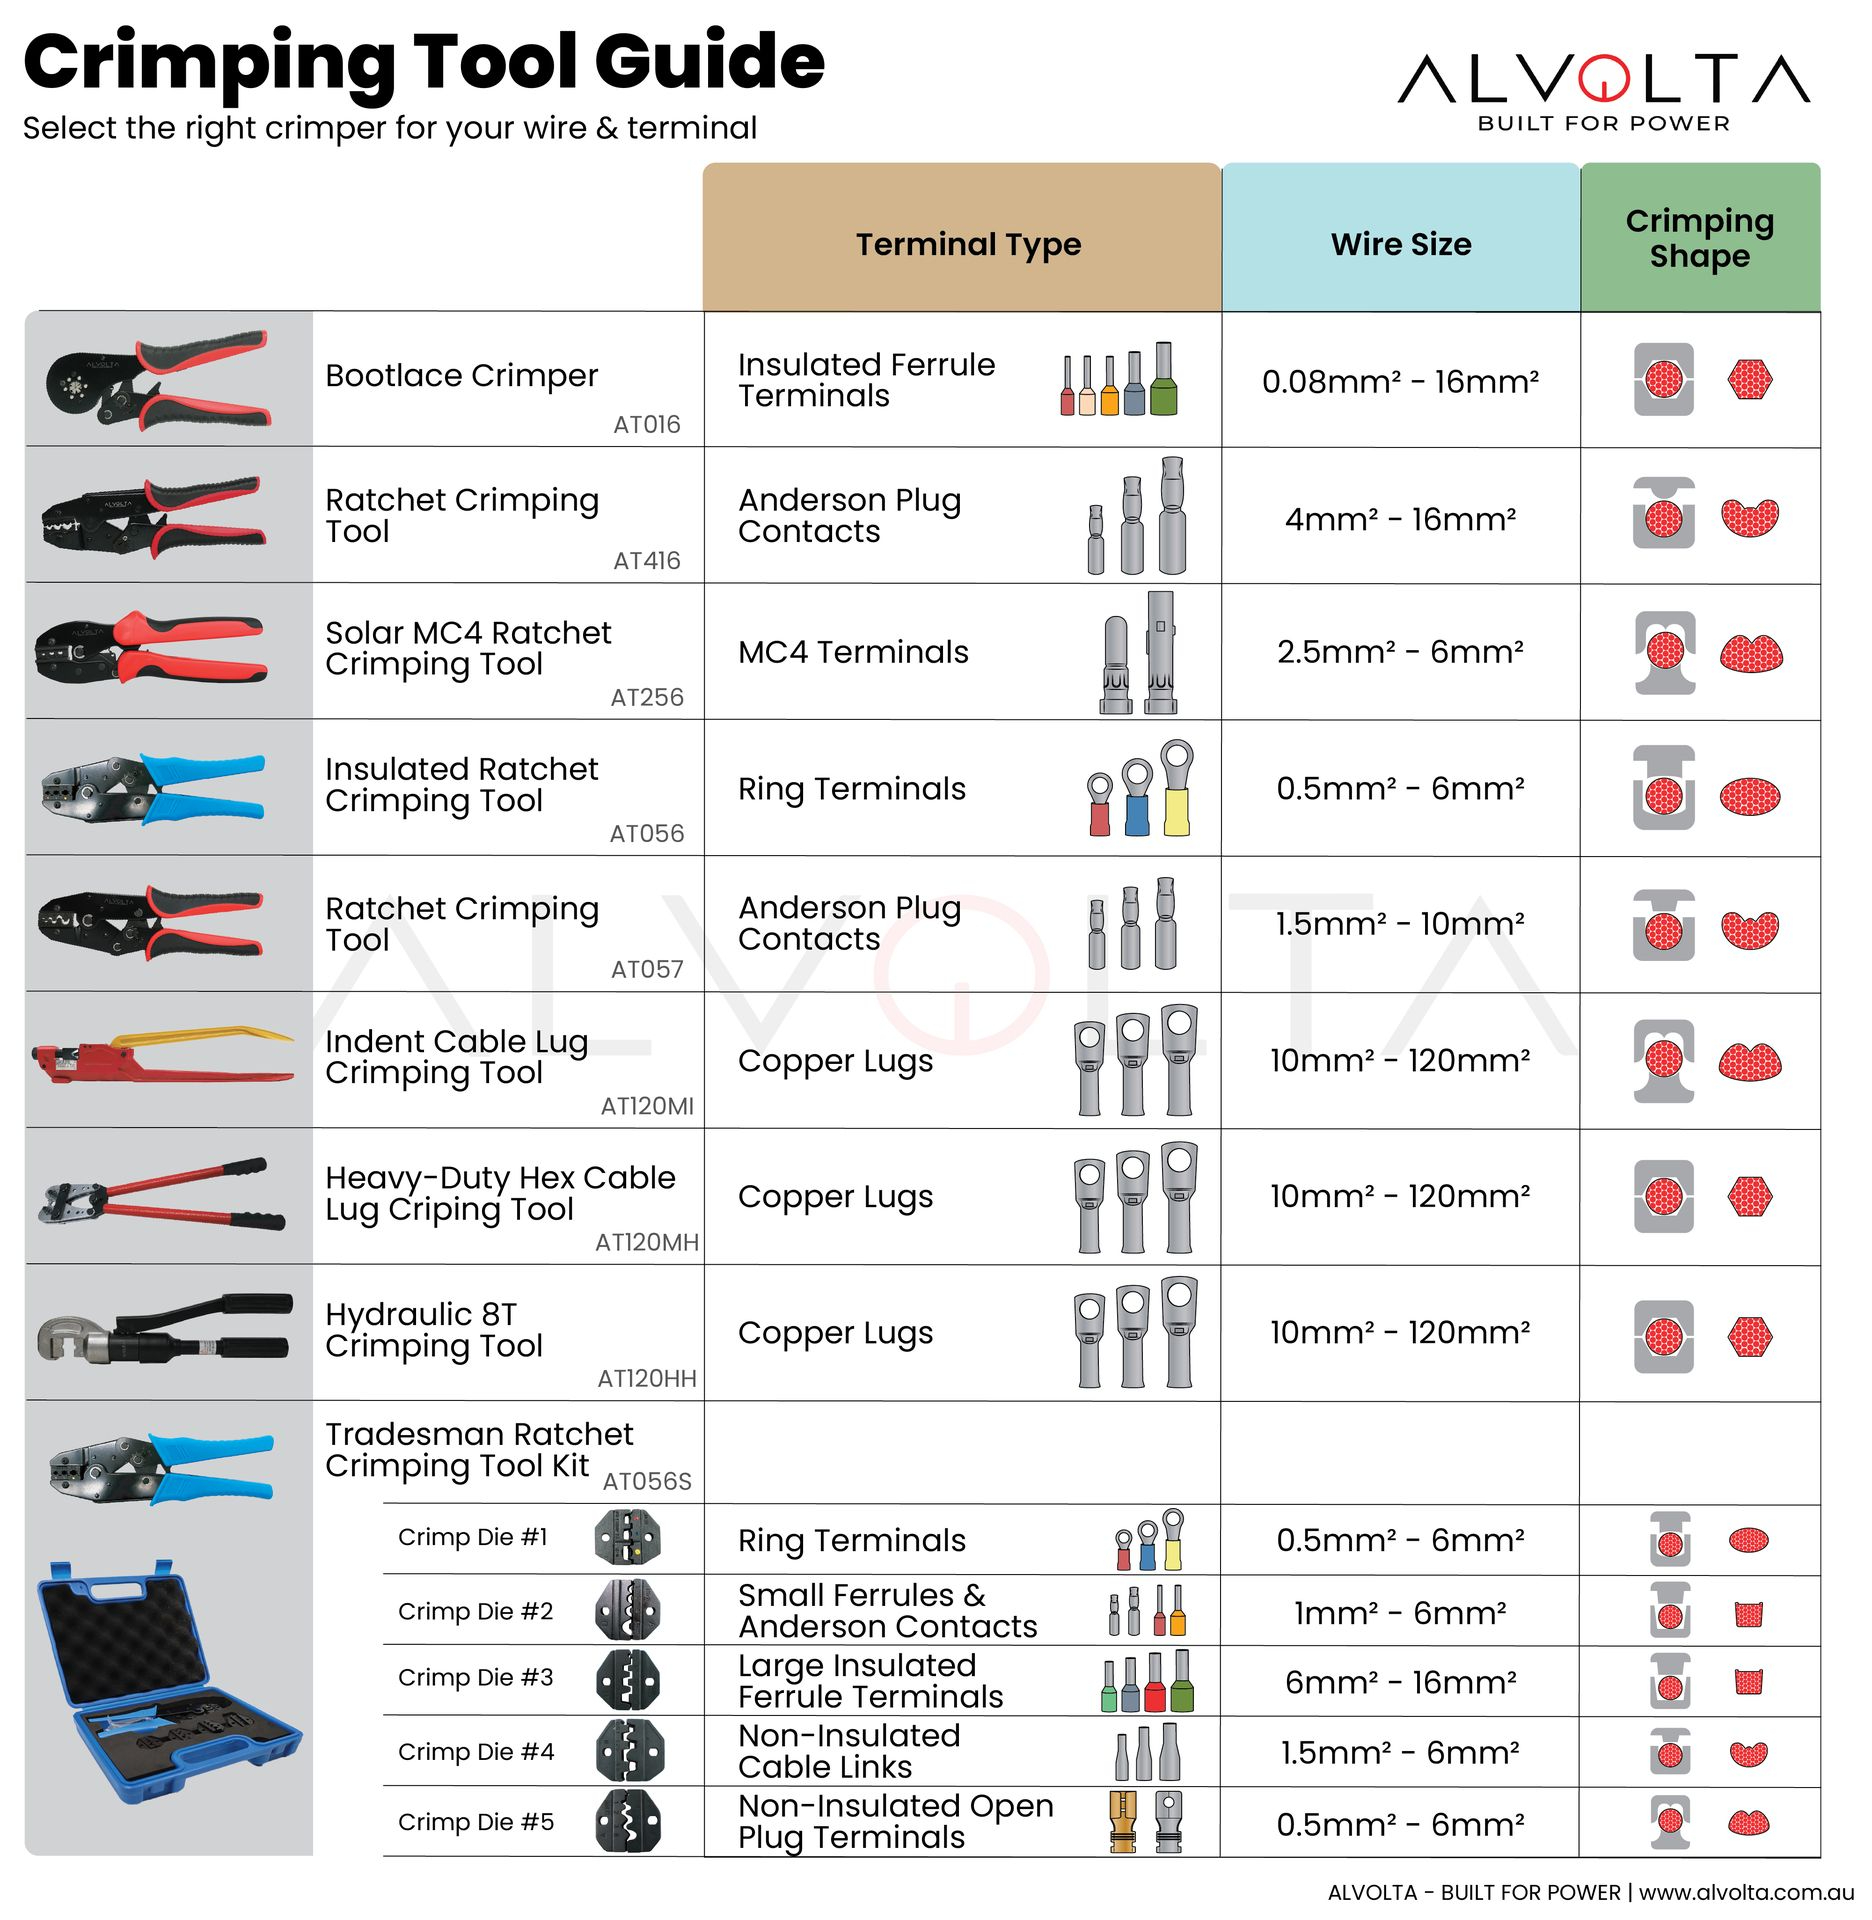
Before you start crimping, it's important to always verify that the die matches both the wire gauge and the type of connector you're using. Mismatched dies can lead to weak crimps, which compromise the reliability of your entire setup.
Regular inspection and maintenance of your dies are also essential. Over time, dies can wear down, affecting the quality of your crimps. Check for signs of wear and tear and replace dies as needed to maintain optimal performance.
How to choose the right crimping tool
Selecting the correct crimping tool for your project comes down to a few key factors:
- Wire Gauge
- Terminal Type
- Application
- Tool Quality
Wire Gauge:
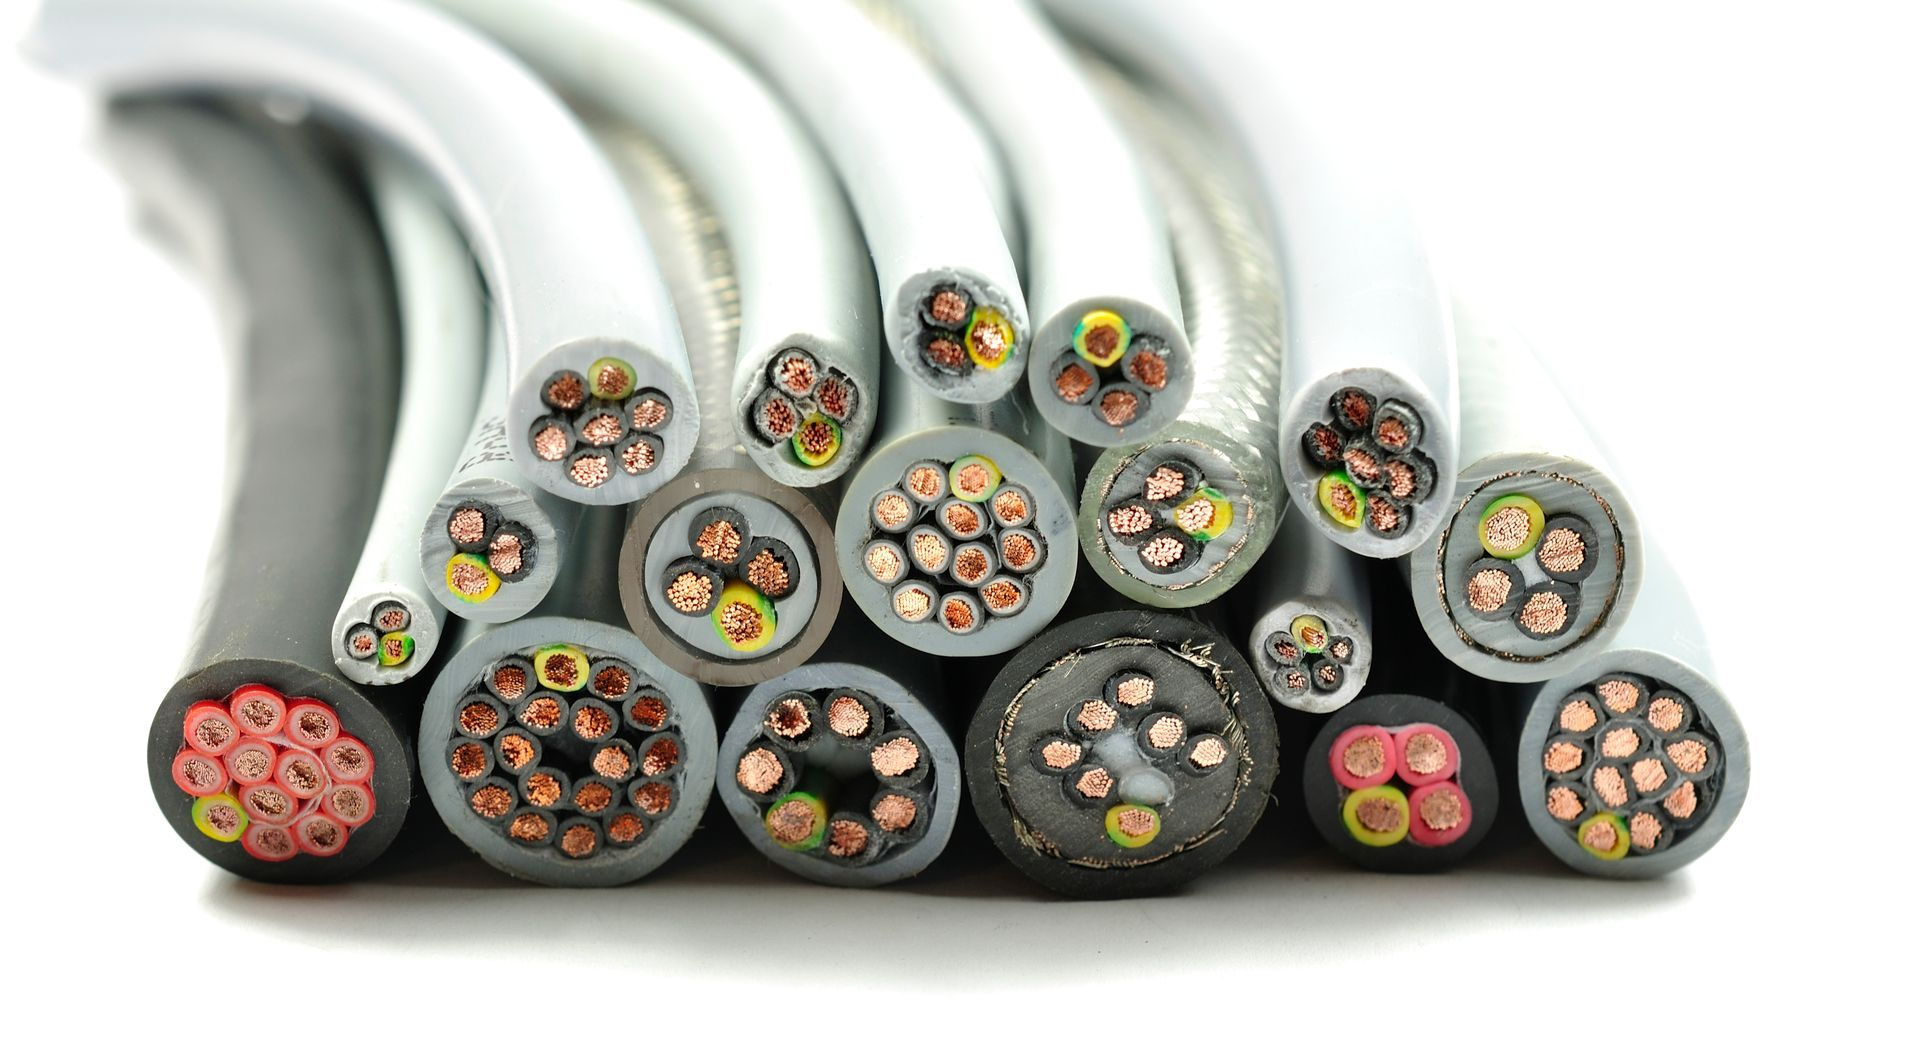
The size of the wire you are using is the most important thing to consider when choosing a crimping tool. The cavities within a crimping tool are sized based on the wire size, so the crimping tool’s cavity needs to correspond with the wire you are using.
Terminal Type:
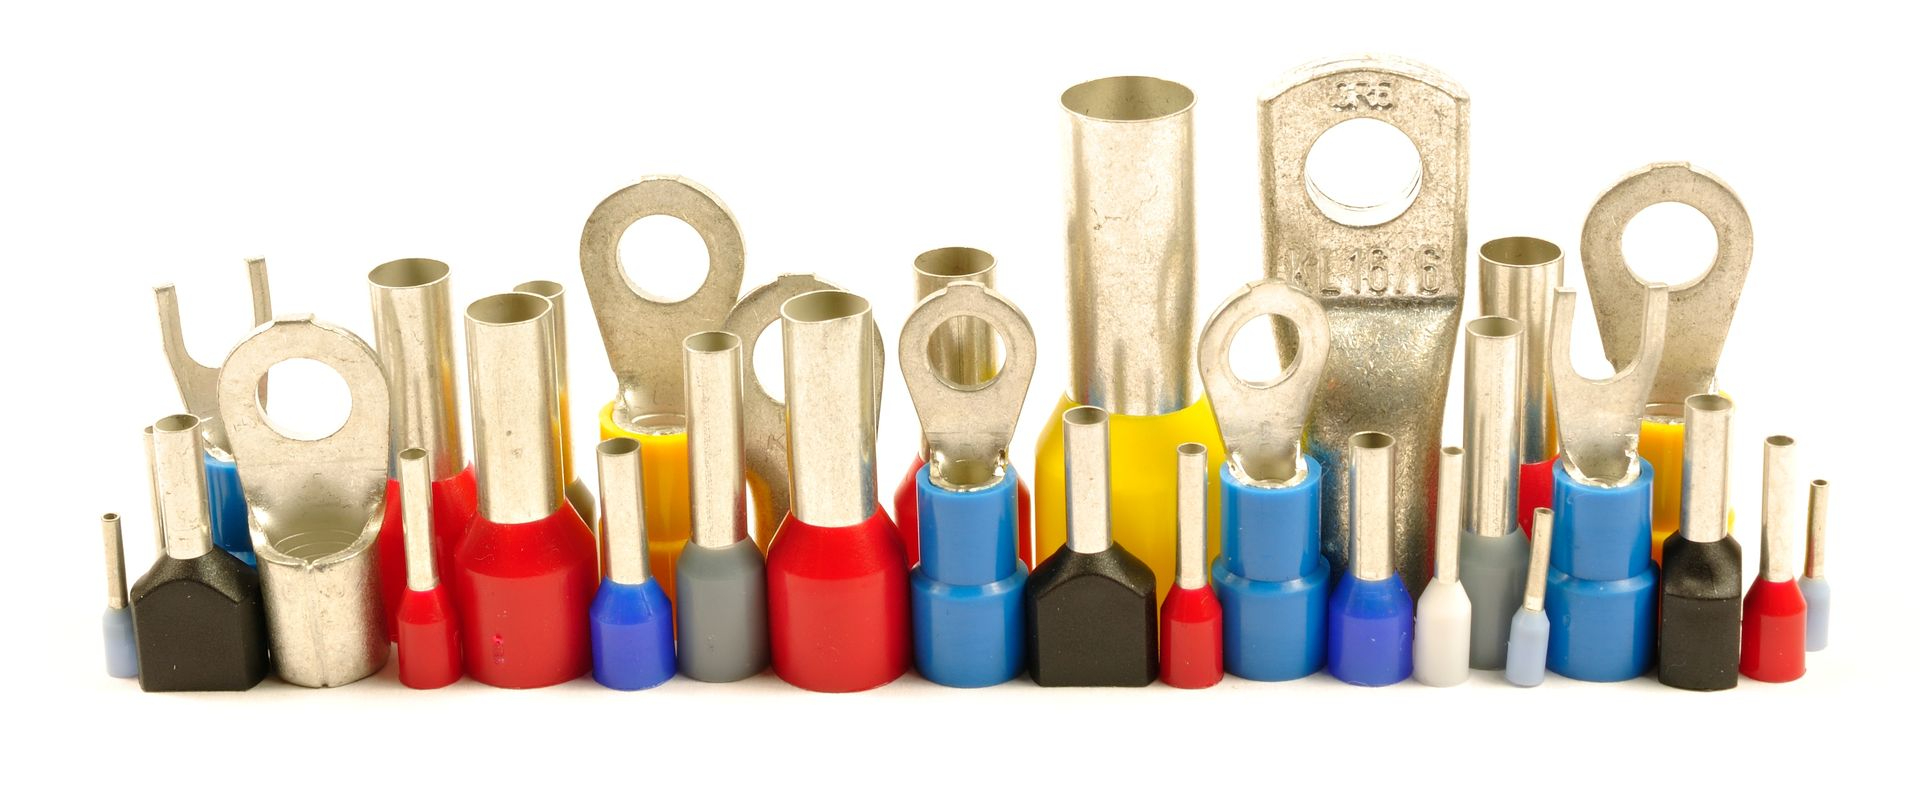
The type of terminal that you are crimping also affects the tool that should be used. The different shapes of crimping cavities provide different crimps, each designed for specific terminals. Therefore, it is important to pick the right tool for your terminal, so you can get a secure connection. Using the wrong tool can damage the terminal or create a weak connection.
Application:
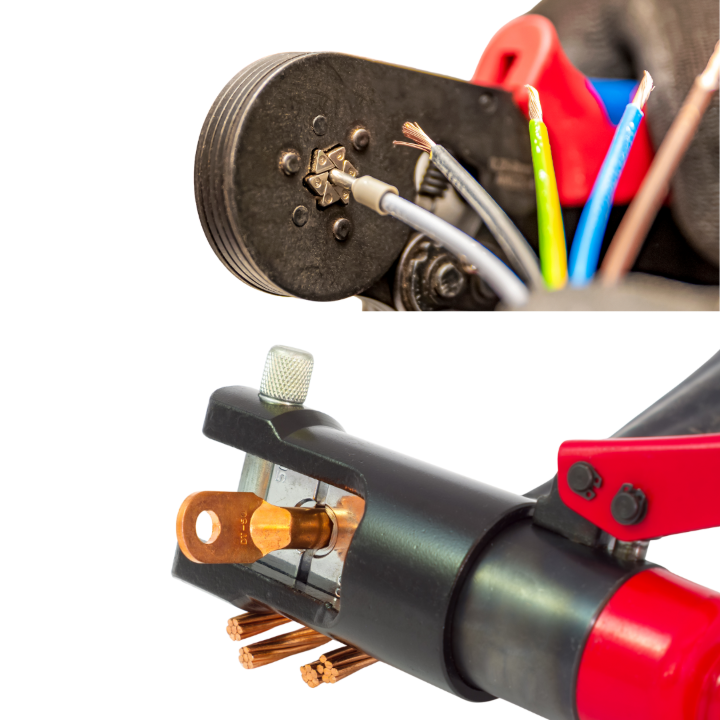
When picking a crimping tool, it is important to consider how you’ll be using the tool. For example, if you’ve got a few little crimps to do in a tighter space, you might use a compact crimper. However, if you’re going to create a high volume of crimping connections, you might want to consider something more heavy-duty or that is optimised for higher crimping speed.
Tool Quality:
Not all crimping tools are created equal. High-quality crimpers create more reliable connections and last longer. Investing in the right tool from the start can save time and reduce installation issues later.
How to use a crimping tool - Step-by-step
1. Select the correct terminal and crimper for your wire application
2. Carefully strip the wire to expose the bare wire, making sure not to nick or damage the strands
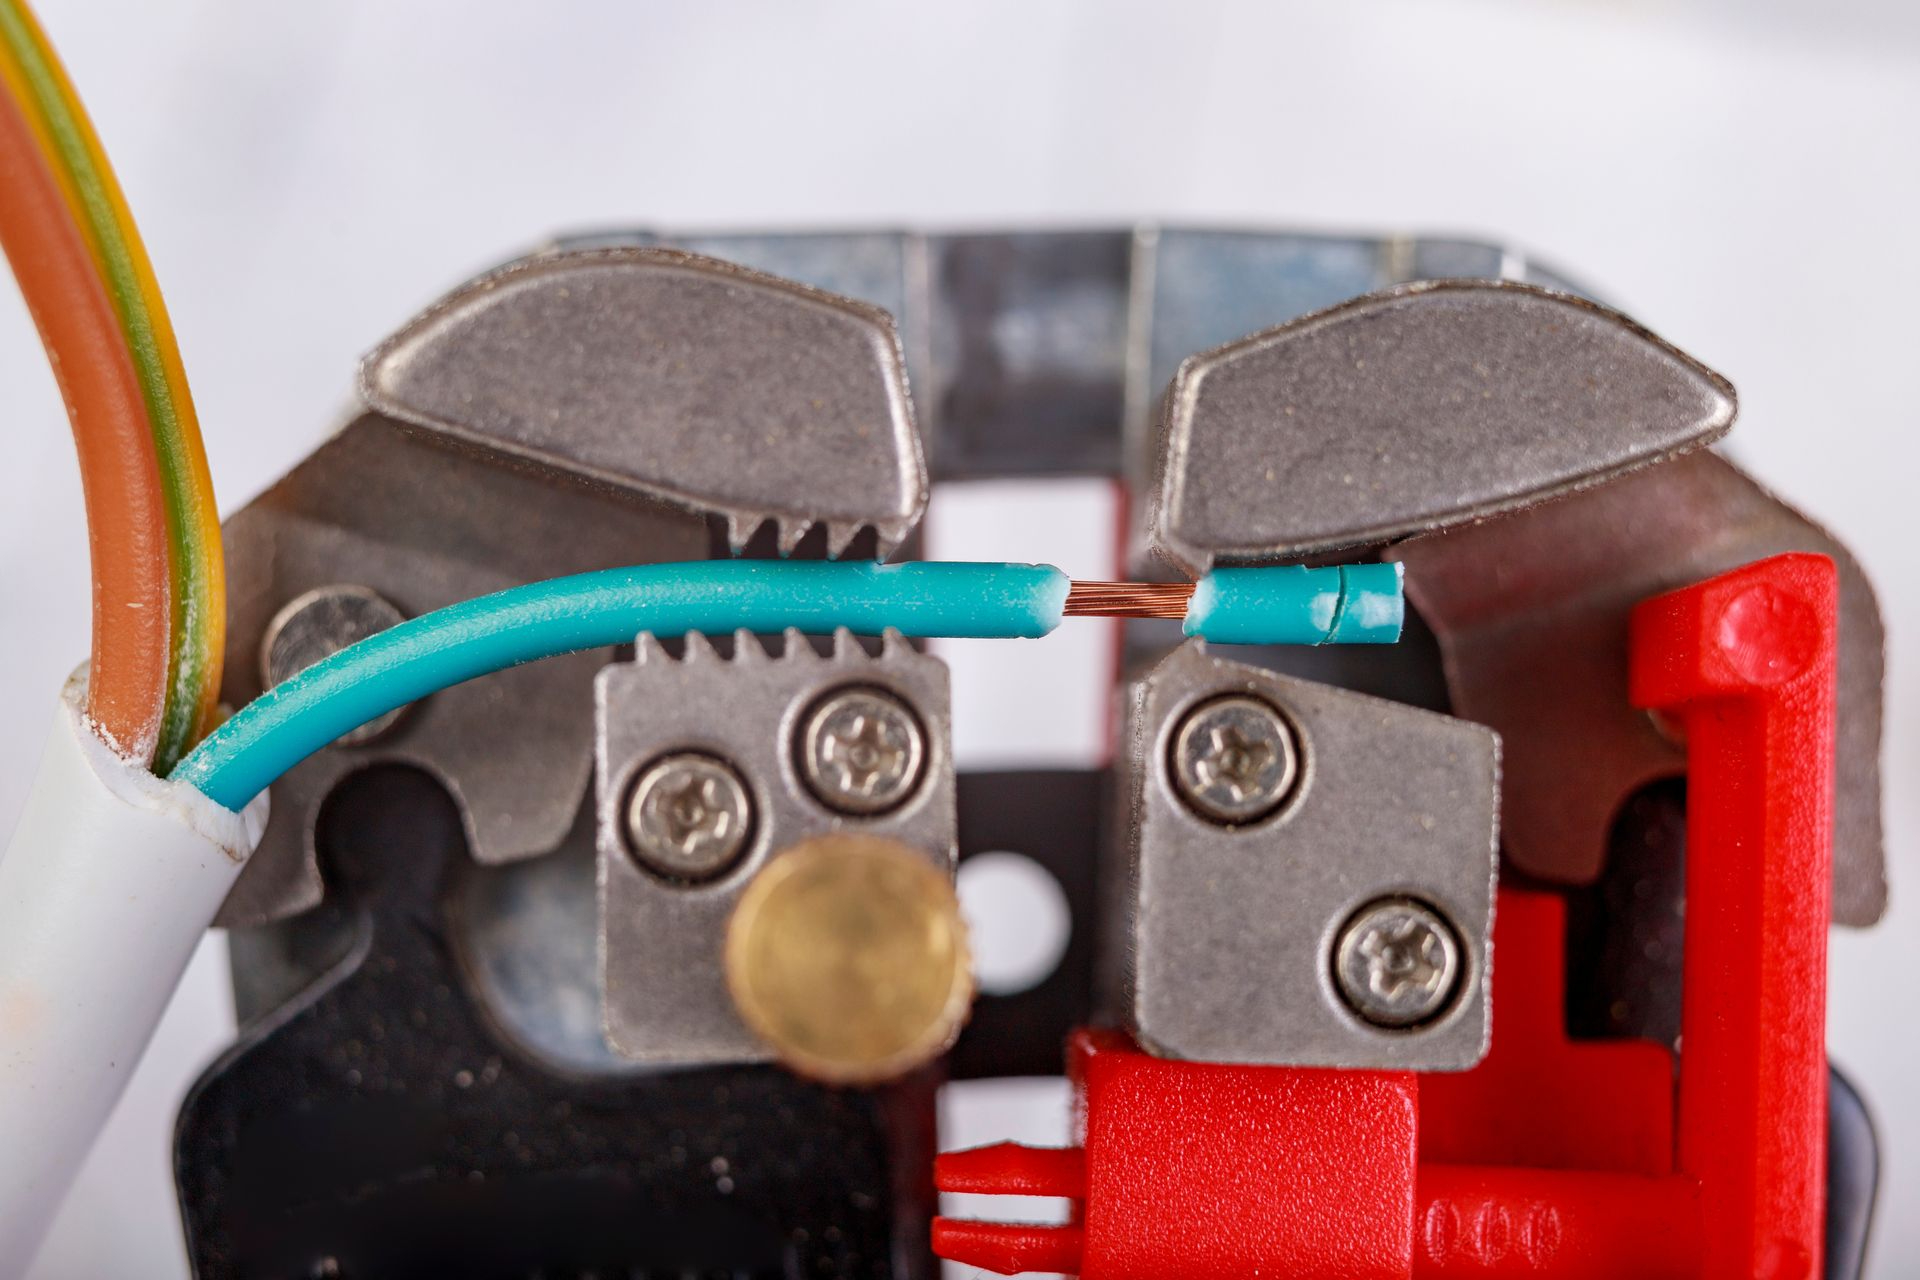
3. Insert the stripped wire into the desired terminal
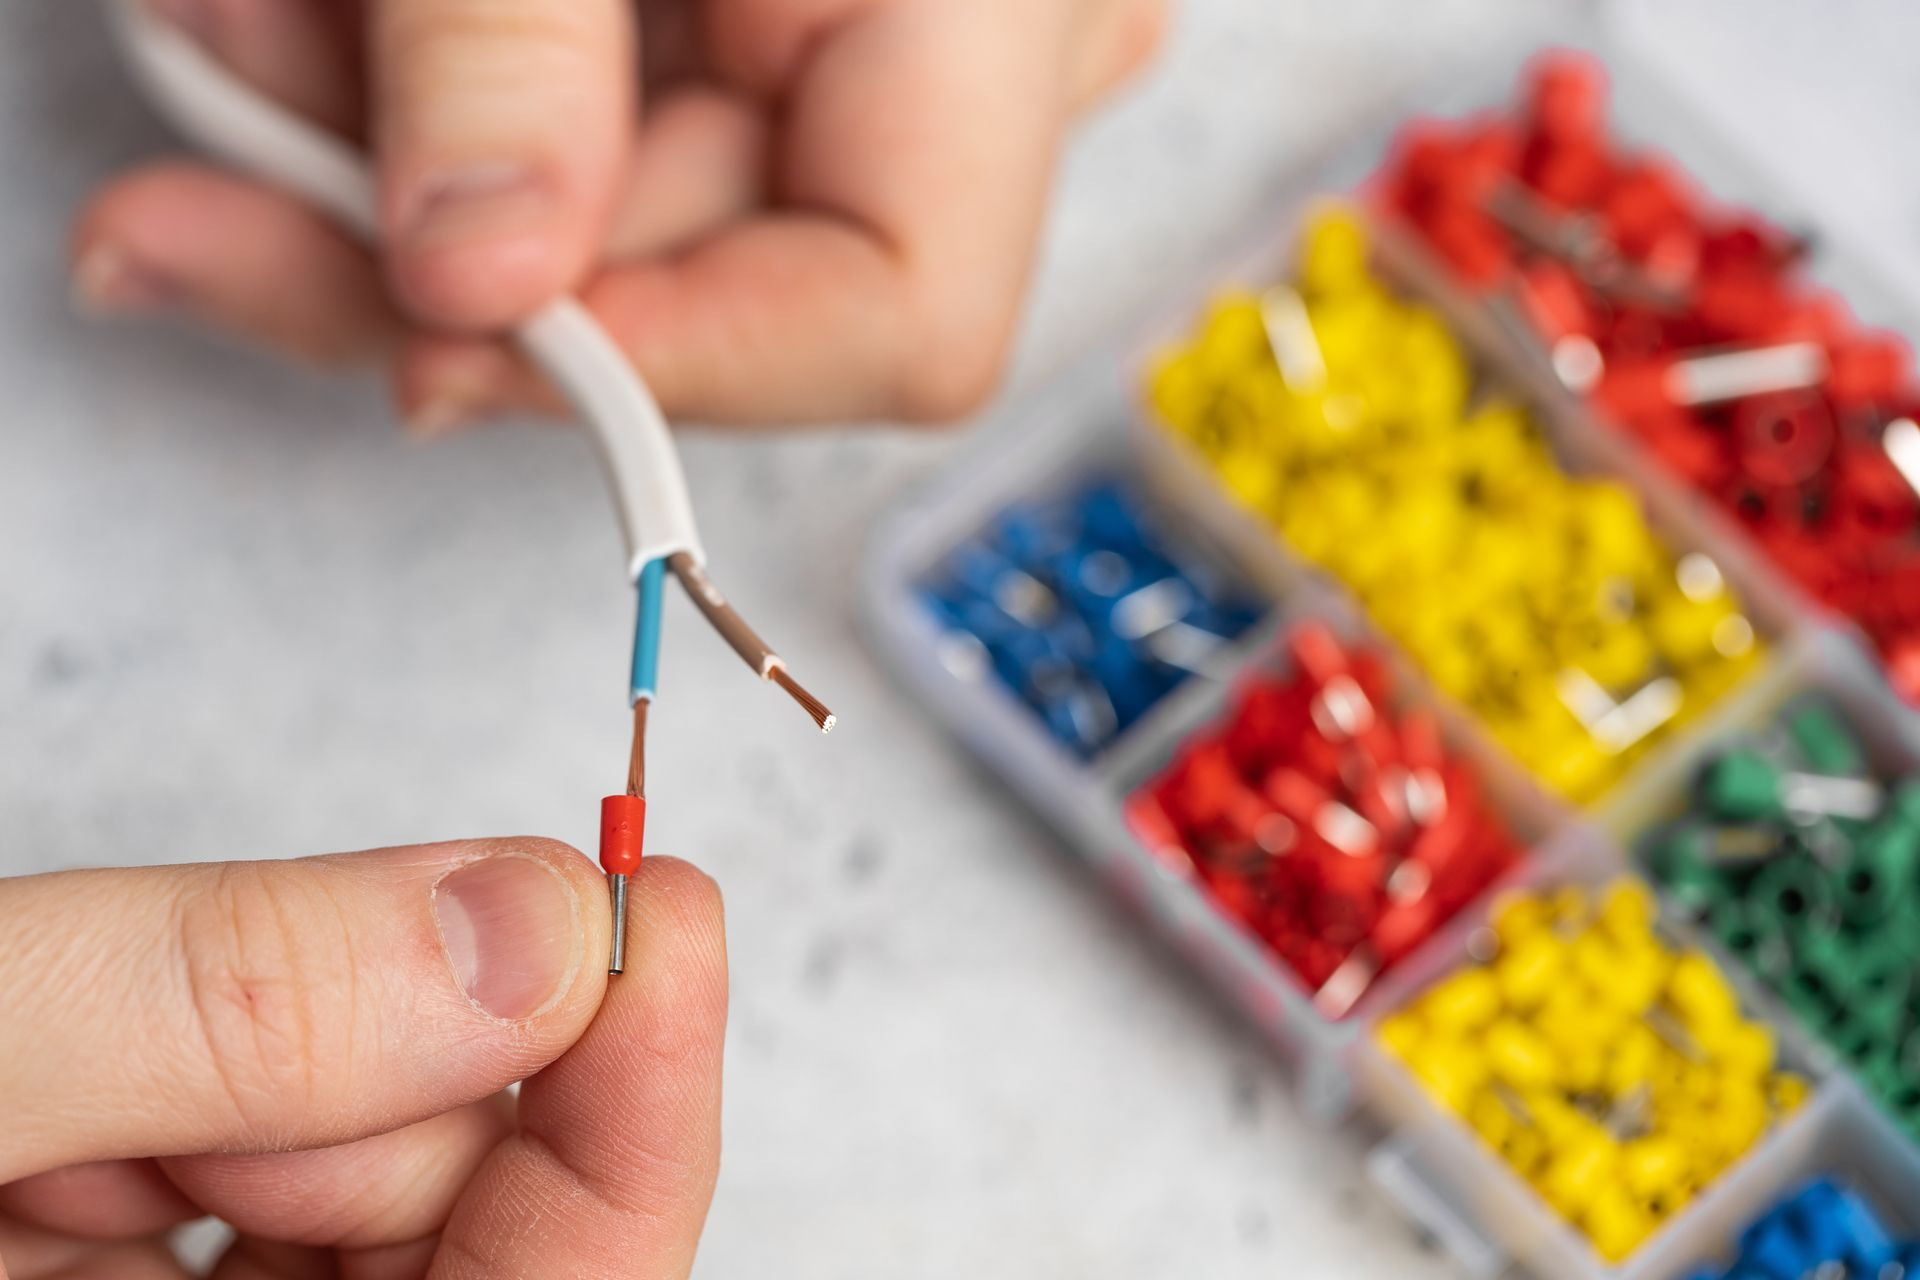
4. Place the terminal into the crimping tool cavity that matches the wire gauge
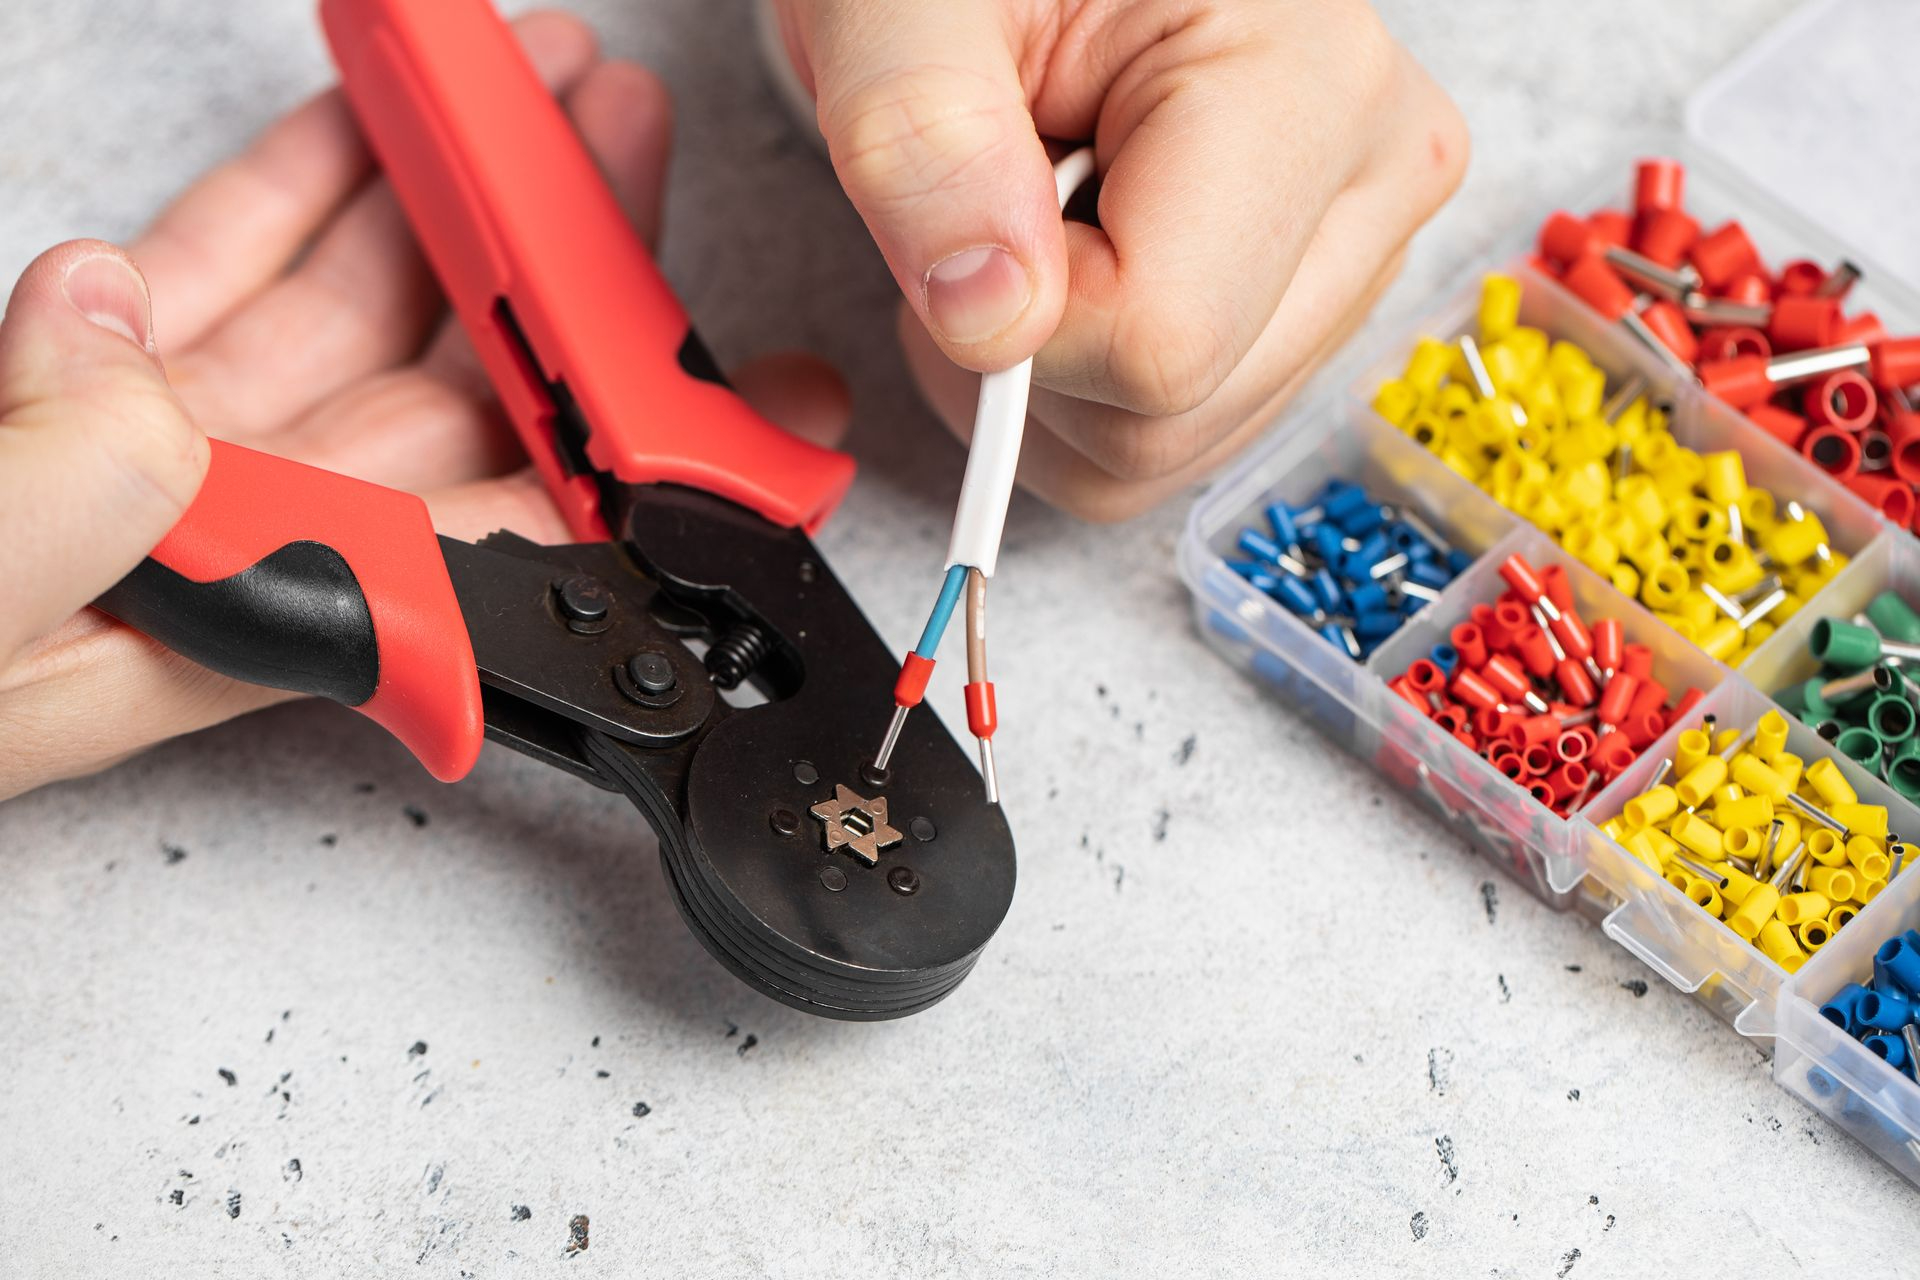
5. Squeeze the handles firmly until the terminal is securely crimped
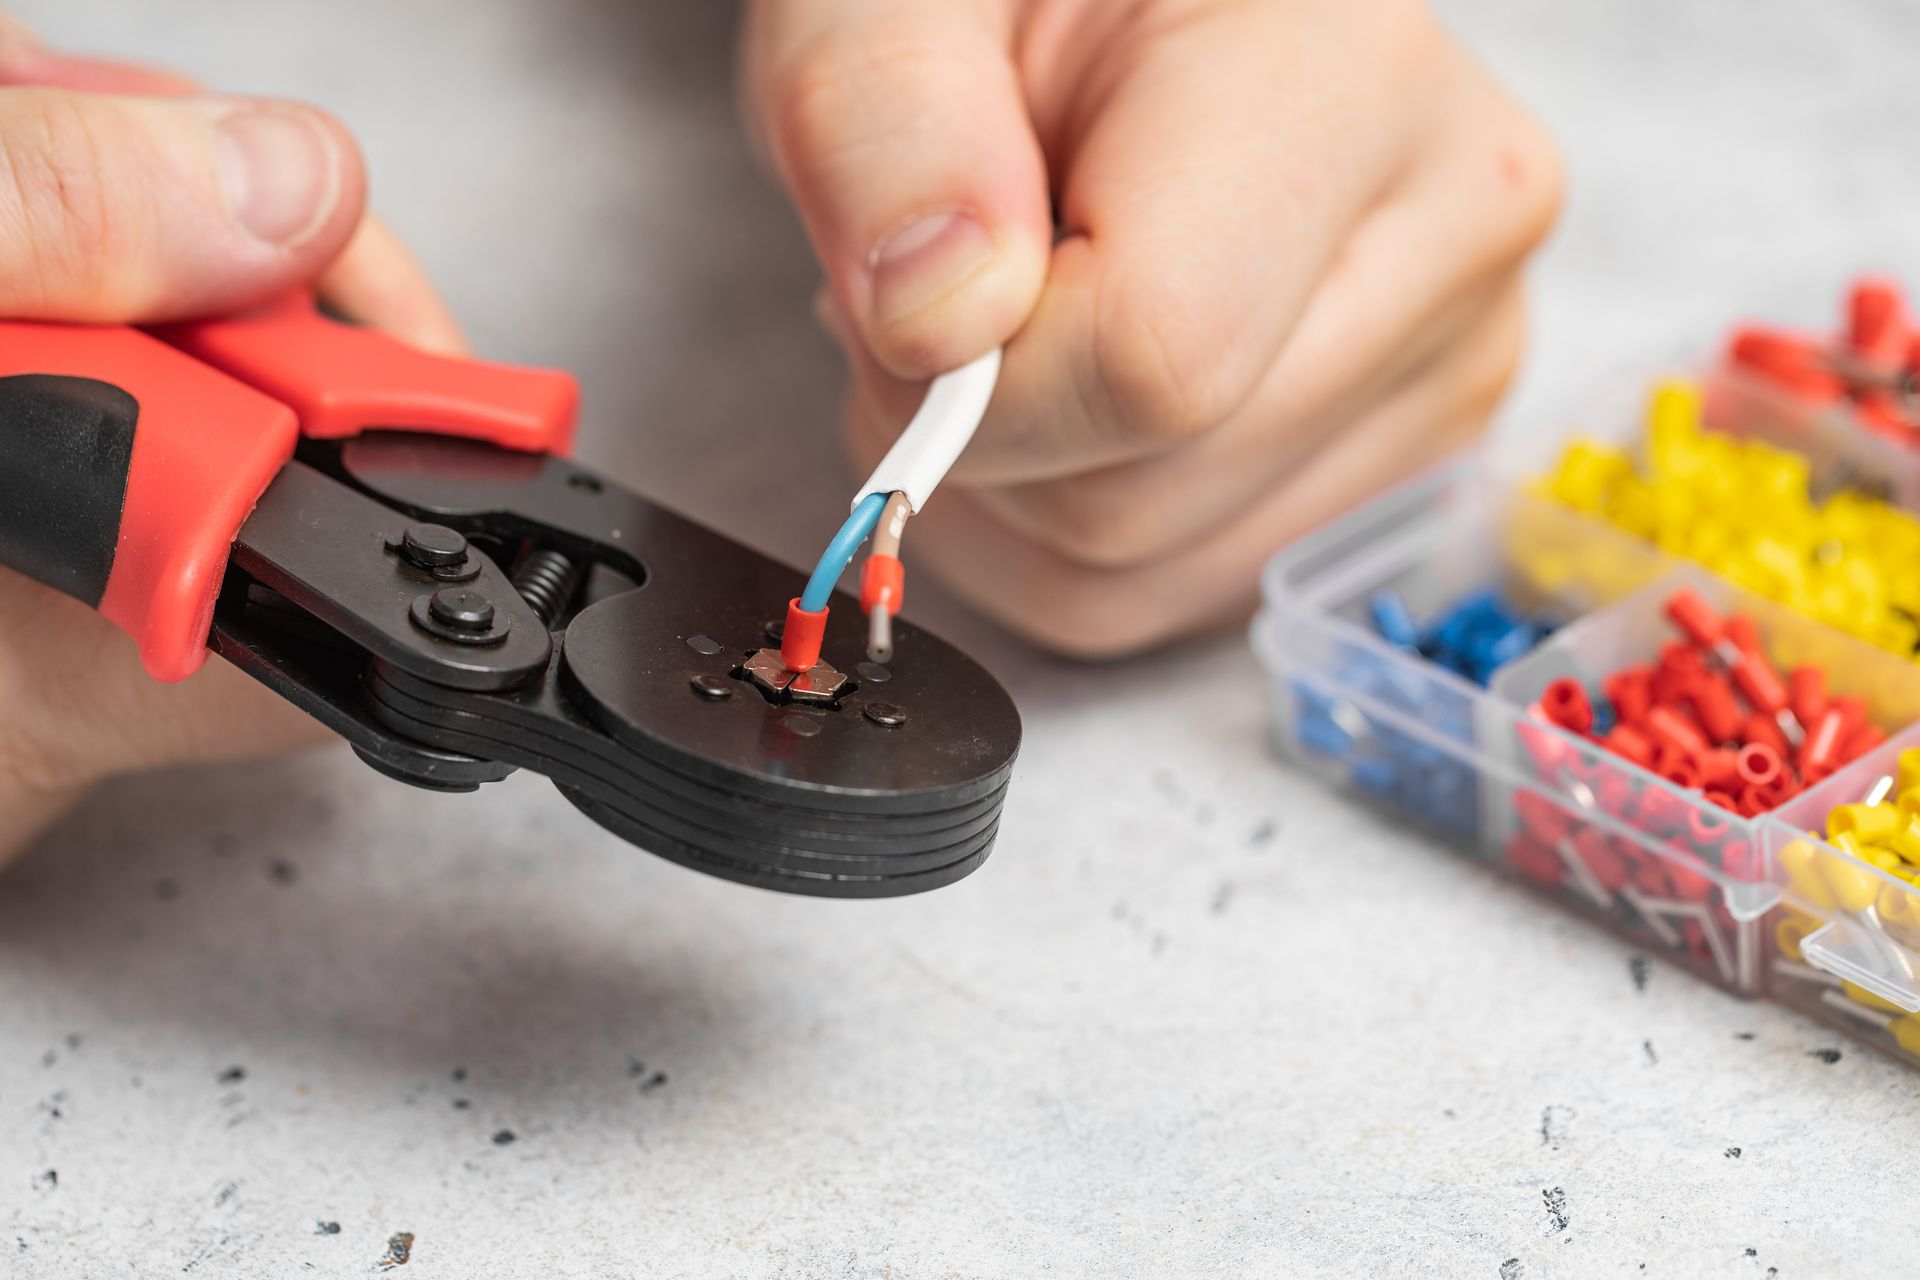
6. Release the tool and remove the finished connection
7. Inspect the connection for damage or misalignment
8. Repeat for any additional connections
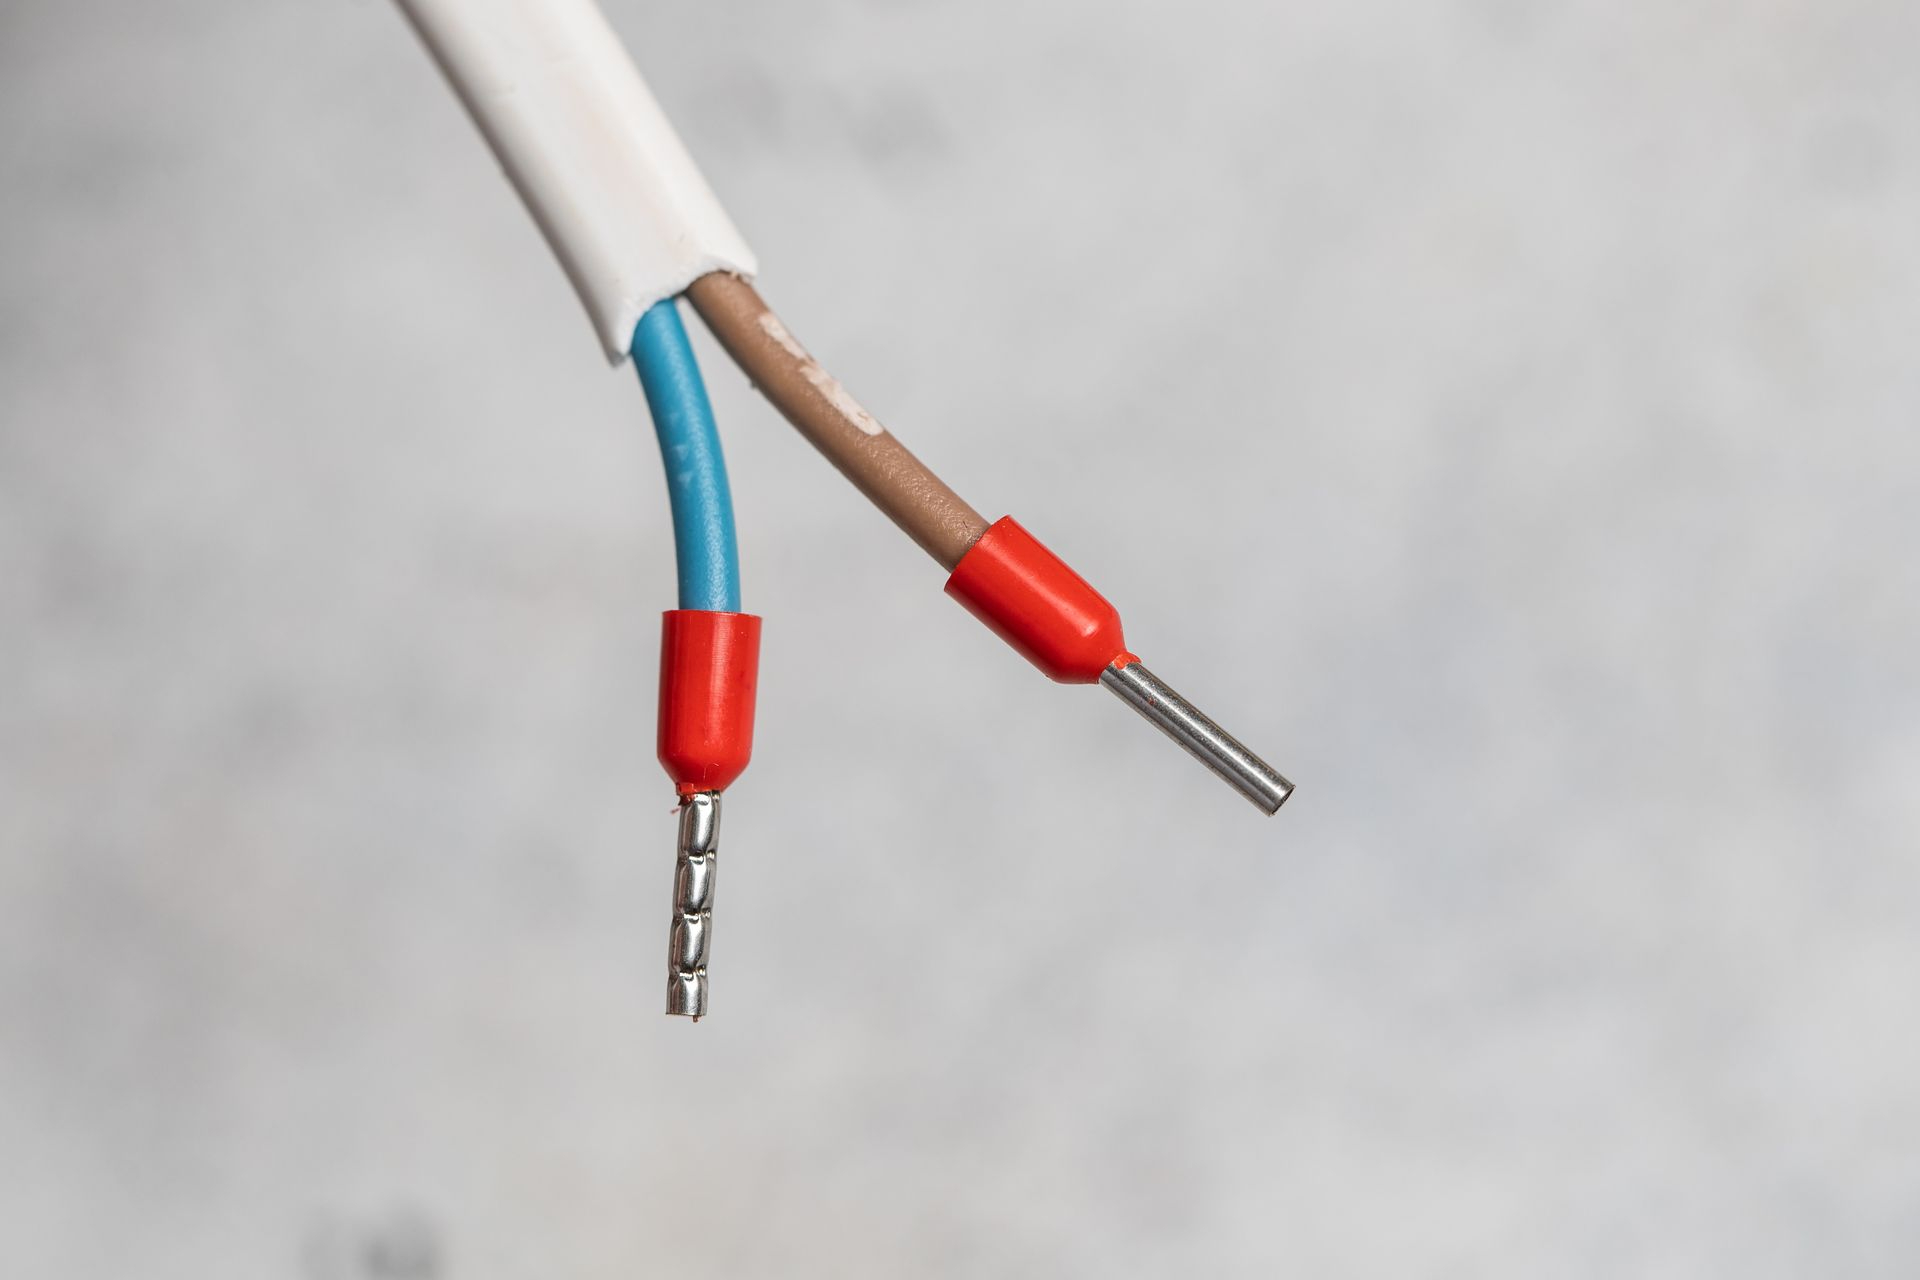
9. Apply heat shrink (if required) over the terminal connection for added protection and a professional finish
10. Test the connection before installation to ensure it’s secure and electrically sound
Wrapping Up
Crimping is a reliable, accessible, and efficient way to make safe electrical connections in a wide range of applications. Whether you’re wiring up a solar setup, upgrading your caravan’s battery system, or installing a 12V fridge, having a quality crimping tool is essential.
At Alvolta, we stock a wide range of professional-grade crimping tools and terminals to suit your needs. Shop our range of tools here.
Contact our DC component experts for assistance in setting up a 12/24V system. We are an Australian-founded and operated company, providing expert advice for over 23 years
Crimping Tool Guide