

The off-grid camping revolution has completely changed the way we travel in Australia. Ten years ago, finding a caravan or 4WD canopy equipped with high-capacity lithium battery banks, massive solar arrays, and heavy-duty pure sine wave inverters was rare.
Today, it's the standard. We are hitting the most remote corners of the Australian Outback with all the creature comforts of home - running induction cooktops, coffee machines, and air conditioners miles from anywhere.
But as our off-grid setups grow more capable and complex, the safety margins shrink.
There's a common and highly dangerous myth floating around DIY forums and social media groups: "It's only 12 Volts; what's the worst that can happen?" DIYers will jump in and wire batteries, solar panels, and DC power equipment armed only with a quick scan of Google's AI summary and a YouTube video.
Let's be honest: while you won't get a dangerous 230V mains shock from your auxiliary battery, low voltage does not mean low risk. In a 12V DC system, we achieve high power (wattage) through massive current (amperage).
When high current is forced through a system, a single loose thread or compromised electrical connection becomes an invisible, silent threat. Unlike a dead short circuit - which typically blows a fuse instantly - a loose terminal creates localised electrical resistance. This resistance acts like a tiny, high-powered heater, quietly generating extreme heat behind your cabinetry or in your canopy.
Left unchecked, this simple physical oversight can lead to ruined appliances, system shutdowns, and, in the worst cases, a devastating vehicle fire.

Why Loose Connections Get Dangerous: Heat
To understand why a loose connection is so hazardous, we have to look at how electricity behaves in an extra-low-voltage DC environment.
Think of a 12V DC system as traffic on a road. Voltage (Volts) represents the force available to move the traffic, while current (Amps) represents the amount of traffic moving through the road. Resistance is anything that makes it harder for that traffic to pass.
A well-designed electrical circuit is like a good road: the route is suitable for the amount of traffic using it, and there are no unnecessary restrictions.
A cable that is too small for the load is like a road that is too narrow for the traffic using it. A poor or loose connection is different again: it is like having a damaged section of road that causes a traffic bottleneck.
The electrical current still has to pass through that connection. Because the connection has more resistance than it should, some of the electrical energy is converted into heat at that point.
This is why a connection can become hot even though the appliance connected to the circuit continues to operate normally.
Read more: What size cable do I need? LV cable sizing guide
The math
The primary electrical principle at play is Ohm's Law:
V = I x R
Where:
- V = Voltage
- I = Current in Amps
- R = Resistance in Ohms
When we look specifically at the heat generated by resistance, we can use:
Power = I ² R
This formula reveals a crucial physical reality: heat generation increases exponentially with respect to current.
Let's look at this scenario:
- You install a standard 40A DC DC battery charger to charge your auxiliary lithium battery.
- The system is running under a full 40A load.
- One of your heavy copper lugs is connected to a battery stud or busbar that is slightly loose or tarnished, creating a contact resistance of just 0.1 Ohms. Ideally, your connections should have a resistance measure of 0.00005 to 0.0001 Ohms.
Using our formula:
Power (Heat) = (40A)² x 0.1 = 1,600 x 0.1 = 160 Watts
To put this into perspective, a standard hobbyist soldering iron used to melt metal solder operates at only 40 to 60 Watts, reaching temperatures well over 300°C. Generating 160W of localised power at a single loose nut or terminal stud is equivalent to pressing a heavy-duty, commercial soldering iron directly against your battery post or fuse block.
Will the fuse blow?
It's easy to assume that a fuse will protect your system against an overheating scenario. But a fuse is designed to protect the cable and circuit from excessive current.
A poor connection can behave differently.
If a connection develops additional resistance, it can generate substantial localised heat while the overall circuit current remains below the fuse rating.
For example, a 40A charger connected through a poor terminal may still draw around 40A. The fuse sees 40A and, quite correctly, remains intact, while the poor connection dissipates heat.
What happens when a connection overheats?
Electrical components are engineered to operate safely within strict temperature ranges. However, loose connections easily push materials past their breaking points:
- Copper Wire Insulation: Standard PVC electrical wire insulation (the red and black outer jacket) has a maximum continuous operating temperature limit of approximately 80°C.
- Battery and Component Casings: The plastic housings of batteries, fuse holders, and distribution blocks typically tolerate up to 90°C before softening.
Once a loose connection generates enough heat to exceed these temperature thresholds, the insulation melts away. This exposes bare, glowing copper wire strands.
At this point, a catastrophic ignition sequence begins. The superheated wire can easily arc or spark against nearby metal frames or other wires. in the tight confines of a caravan or canopy, these wires are often located right behind wood panelling, carpet, or in proximity to gas lines.
A single spark under these conditions can ignite a fast-moving fire before you even realise there is a problem.
How to Spot a Loose Connection
Because loose connections often hide behind panels or inside battery boxes, they can be difficult to diagnose. However, they almost always leave a trail of warning signs. Use this troubleshooting checklist to protect your rig:
- Intermittent Faults: If your fridge or inverter works perfectly while parked in your driveway but randomly resets, cuts out, or displays low-voltage codes when you are driving, you likely have a "make/break" connection. Road vibrations are constantly causing loose terminals to shift, briefly interrupting the electrical circuit.
- Severe Voltage Drop: Loose connections act as high-resistance bottlenecks, dropping the supply voltage to your appliances. If your batteries are fully charged but your 12V/24V fridge, water pump, or DC DC charger shuts down early due to a "low voltage" warning, a loose joint is starving the appliance of power.
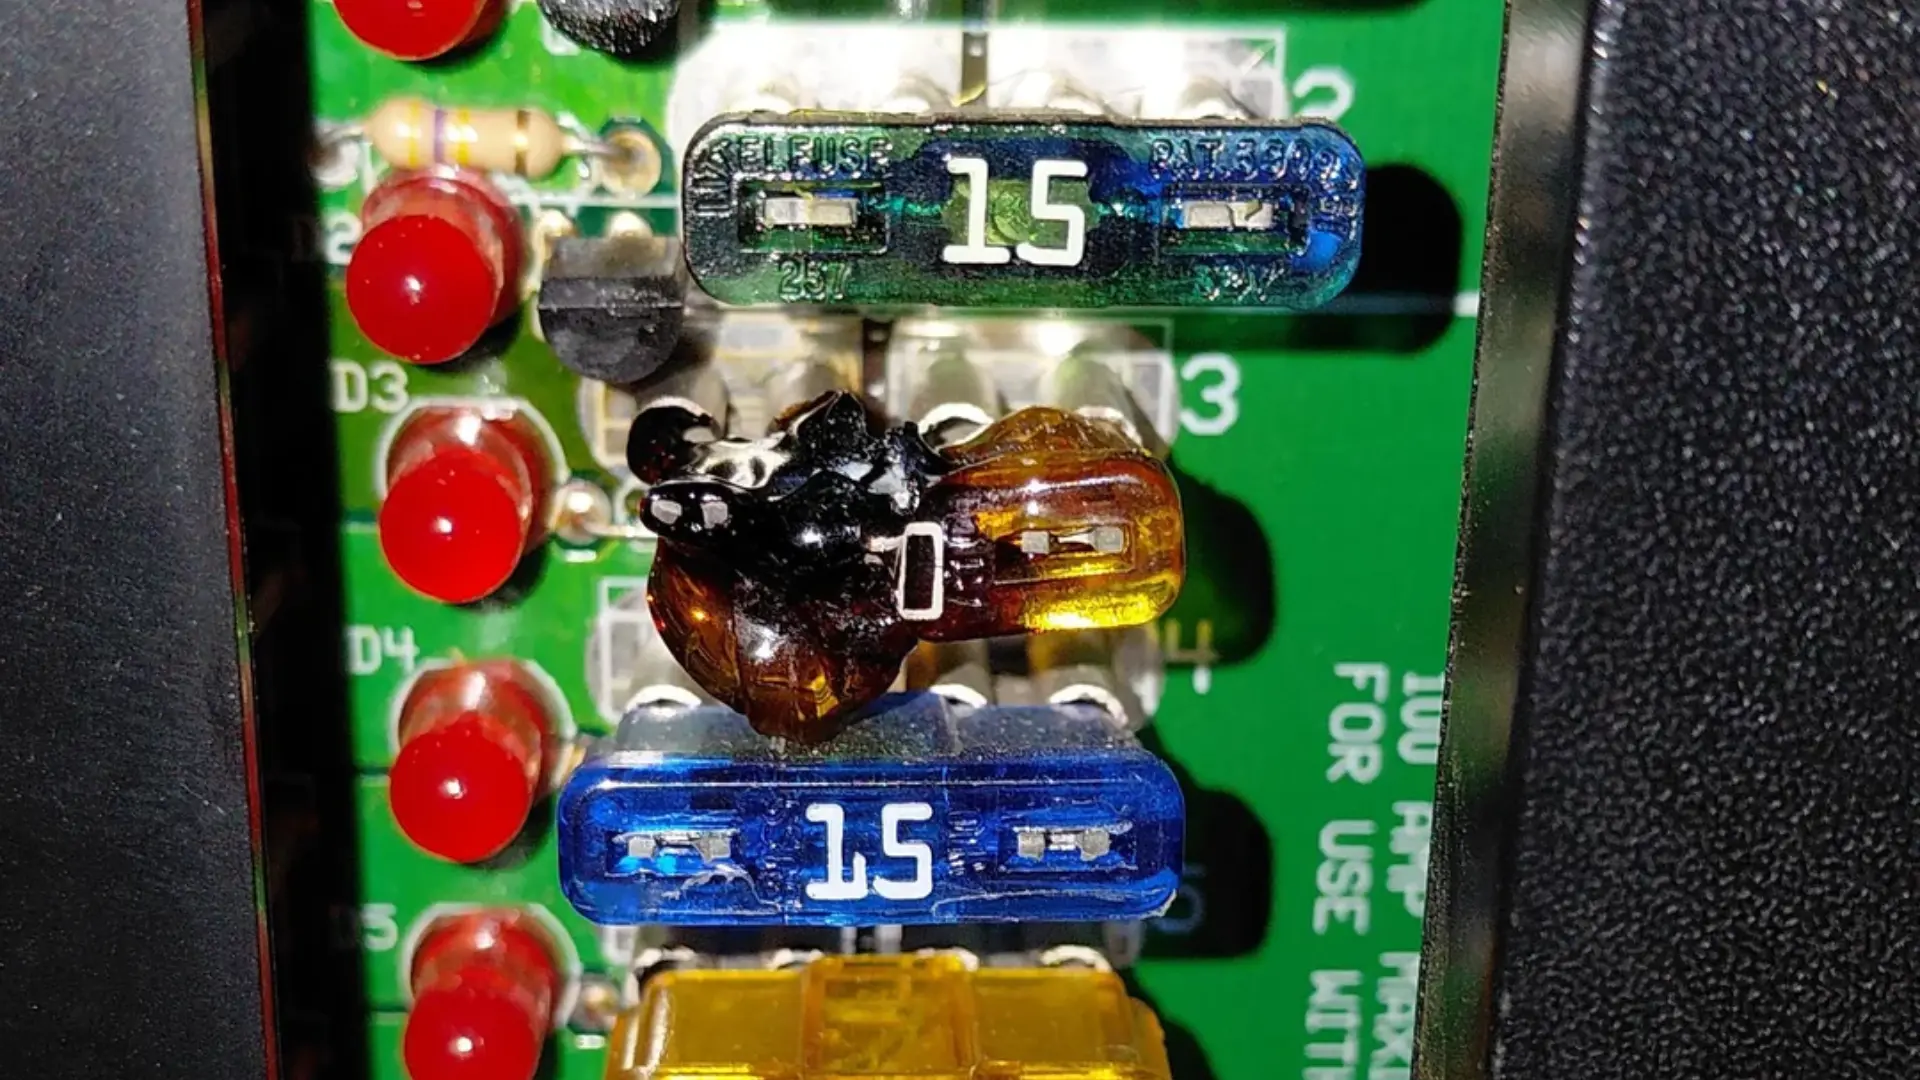
- Melted or Damaged Fuse Holders: A classic sign of a high-resistance loose connection is a melted fuse holder while the fuse itself remains intact. This happens because the loose contact inside the holder generated massive localised heat, melting the plastic housing without ever exceeding the fuse's rated amperage.
- Physical Discolouration: Inspect your connection points. Any terminal post or copper lug that appears blackened, bluish, pitted, or has distorted, melted plastic nearby has experienced severe overheating.
- The Wiggle Test: While you're inspecting, give your connections a little wiggle (make sure your system is turned off!). If they shift, even slightly, your connections aren't tight enough, which may result in overheating.
Diagnostic tools
The best tools to have on hand to help with diagnosing loose or overheating connection points are:
- Multimeter: Perform a voltage drop test under load. Measure the voltage directly across a connection (e.g., from the battery stud metal to the copper cable lug). Any measurable voltage reading across a single joint under load indicates resistance, heat, and a loose connection.
- Thermal Imaging Camera: Infrared thermal cameras have become highly affordable. Scanning your active 12V distribution board under load will reveal loose connections as bright, glowing hot spots. If you can't get your hands on a thermal camera, you can safely turn off your system and feel over the connections with a bare hand; a poor connection will feel noticeably hotter than the surrounding cable.
How to Secure 12V Connections For Good
To make sure your caravan's 12V connections are robust, durable, and safe, you need to adhere to two practices:
- Use the right tools
- Follow professional installation standards
To achieve a gas-tight, low-resistance connection on heavy-gauge battery cables, you must make a proper mechanical crimp. Squeezing a copper lug with a pair of pliers isn't going to cut it. Hammers and pliers don't make even or lasting crimps. These makeshift methods leave air gaps inside the terminal lug, leading to rapid oxidation, corrosion, and loose wire strands.
Always use ratcheting wire crimpers for smaller terminal wires and professional manual or battery-operated hex crimping tools for heavy battery lugs. These tools exert thousands of pounds of even hexagonal pressure, cold-welding the copper strands into a single solid mass of metal with maximum surface contact.
For the ultimate all-in-one DIY arsenal, we recommend the Alvolta Tradesman Multi-Crimping Tool Kit.
This heavy-duty companion features quick-release dies so you can swap from crimping insulated rings to heat-shrink terminals or MC4 solar connectors in under 10 seconds - eliminating the need to carry multiple bulky tools.
In summary, a reliable 12V electrical installation starts with the fundamentals:
- Use the correct cable size
- Use appropriate terminals and connectors
- Make high-quality crimps
- Provide suitable circuit protection
- Secure cables and provide strain relief
- Protect connections from moisture, corrosion, and mechanical damage
- Follow the manufacturer's torque specifications
Why solder is not recommend on mobile systems
Many DIYers believe that soldering a terminal joint makes it stronger. However, standard marine and automotive electrical guidelines discourage or outright ban the use of solder on structural wire connections.
Vehicle vibration is the enemy of solder. When solder is melted into copper wire, it wicks up the strands and creates a rigid section of wire. At the exact point where the solder stops wicking, a severe stress point is created.
Under the constant vibration of driving on corrugated dirt roads, the flexible copper strands will flex against this rigid solder joint, eventually fatigue-snapping and leaving you with an open circuit or an arcing connection.

Use dual-wall, adhesive-lined heat shrink
Once you have crimped your connection, protect it with dual-wall, adhesive-lined heat shrink. When heated, the inner wall of glue melts, completely sealing the copper wires against water, salt air, and oxygen.
This stops green-wire corrosion while providing critical mechanical strain relief, preventing the wire from coming out of the lug if it is accidentally tugged.
Read more: 5 tips to tidy your DC & wiring setup
How to layer battery studs and busbars
When securing copper lugs to threaded battery posts, busbars, or distribution studs, the physical order of assembly is critical for safety.
Here's how to layer battery studs and busbars:
- The Stud: Ensure the threaded stud is clean and free of corrosion.
- Highest Current Draw Lug First: Place your largest, highest-draw cable (e.g., the inverter feed or main battery link cable) directly against the flat metal face of the battery terminal or busbar. This ensures the path of least resistance for your heaviest loads.
- Small Lugs Last: Stack smaller, lower-current lugs on top of the larger lug.
- The Nut: Secure the hardware stack. Never place a washer, spring washer, or nut between mating copper lugs, as this introduces severe resistance directly into the high-current path.
- Limit Connections to Four: Never stack more than four connections on a single stud. Stacking too many lugs reduces the available thread length of the bolt, preventing the nut from clamping down with even, secure pressure. If you have more than four connections, transition to a busbar.
Secure, Protect, and Torque
- Torque Wrench: Never guess the tightness of critical battery terminals. Over-tightening can strip the threads or crack the battery housing, while under-tightening leads to loose connections. Use a torque wrench and tighten M8 studs to the manufacturer's specification (typically 12 to 14Nm).
- Visual Indicators: Go the extra mile by applying a dab of torque marker paint across the nut and stud. This quick visual indicators makes future maintenance checks a breeze - a simple glance with tell you if a nut has started to back off.
- Strain Relief: Secure all cables within 150mm of their termination point using cable clips. This prevents the heavy weight of copper wire from constantly pulling on the terminal connection.
- Conduit and Grommets: Protect all wiring runs by routing cables through split conduit or braided mesh sleeving. Always use rubber grommets when passing wires through sharp metal bulkheads to prevent the insulation from chafing and short-circuiting.
- No Loctite: While it may be tempting to use thread-locking compound to prevent nuts from backing off, never use Loctite on electrical connections. It is an insulator and can interfere with the conductive path.
The Alvolta Standard of Safety
Building a safe and reliable 12V caravan or canopy system isn't about cutting corners to save a few dollars - it is about planning, using the correct tools, and investing in high-quality, reputable components. When you are camped hundreds of kilometres away from the nearest town, you need absolute confidence that your electrical infrastructure can handle the heat.
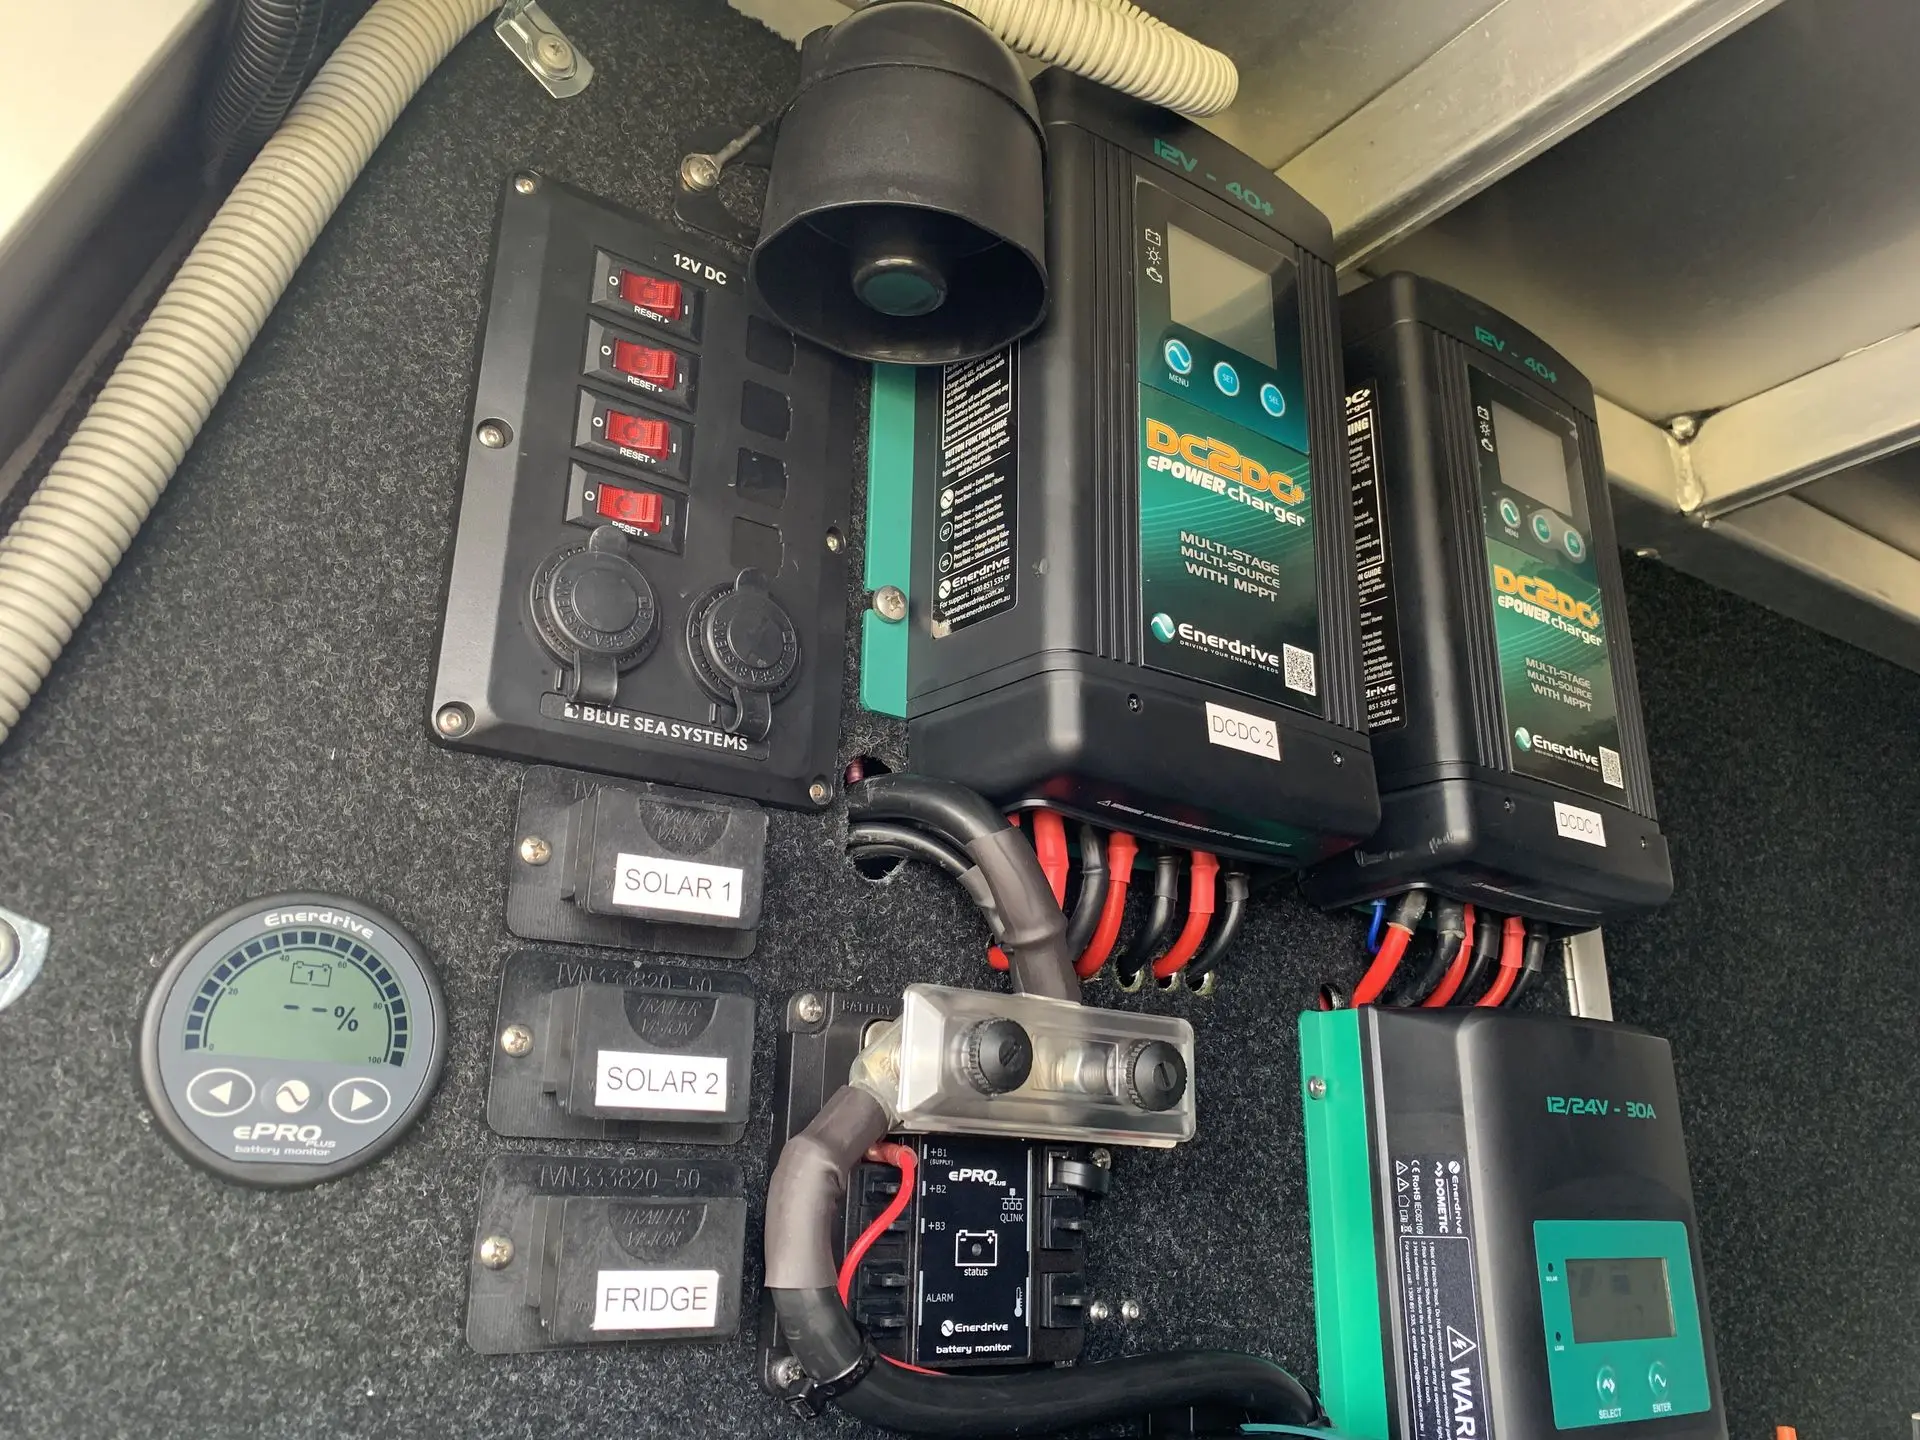
At Alvolta, we engineer our range of heavy-duty busbars, professional crimping tools, robust copper lugs, and premium distribution gear like the Alvolta Central Distribution Hub to meet the highest safety and durability standards. Featuring stainless steel studs, a marine-regulated protective cover, and integrated AMI/MIDI and ATO/ATC fuse connection points, the ADHUB150 is designed to consolidate your accessory connections and keep your wiring clean, secure, and fully protected.
Don't let a loose connection cut your off-grid adventure short. Take the time to regularly inspect your terminal studs, clean away corrosion, use correct wire gauges, and size your circuit protection properly according to your cables' ratings.
By taking these proactive safety measures, you can stay assured that your setup is going to last the long haul.
The Danger of Loose Connections in Your 12V Setup